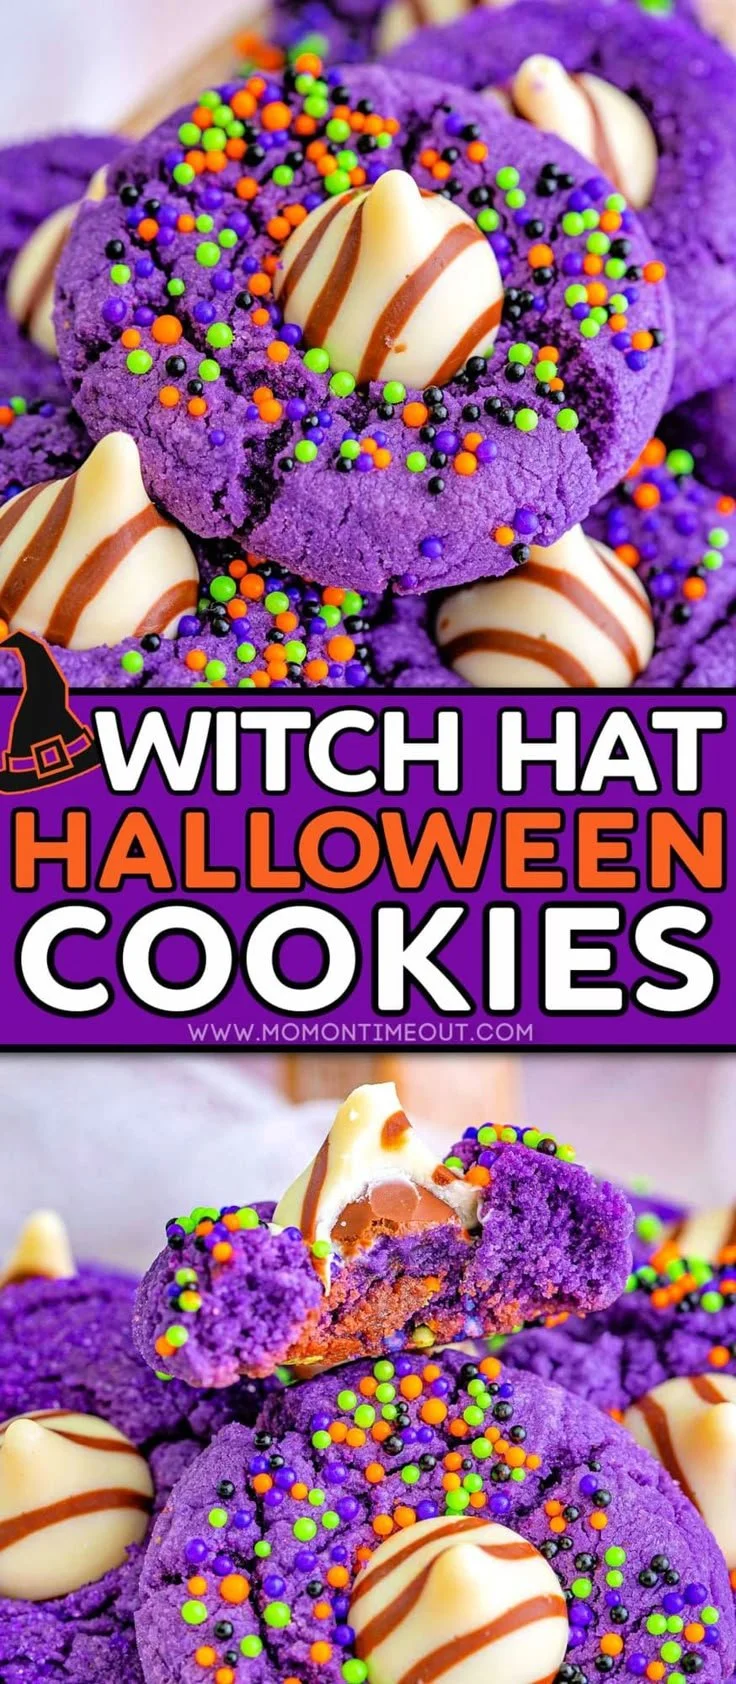
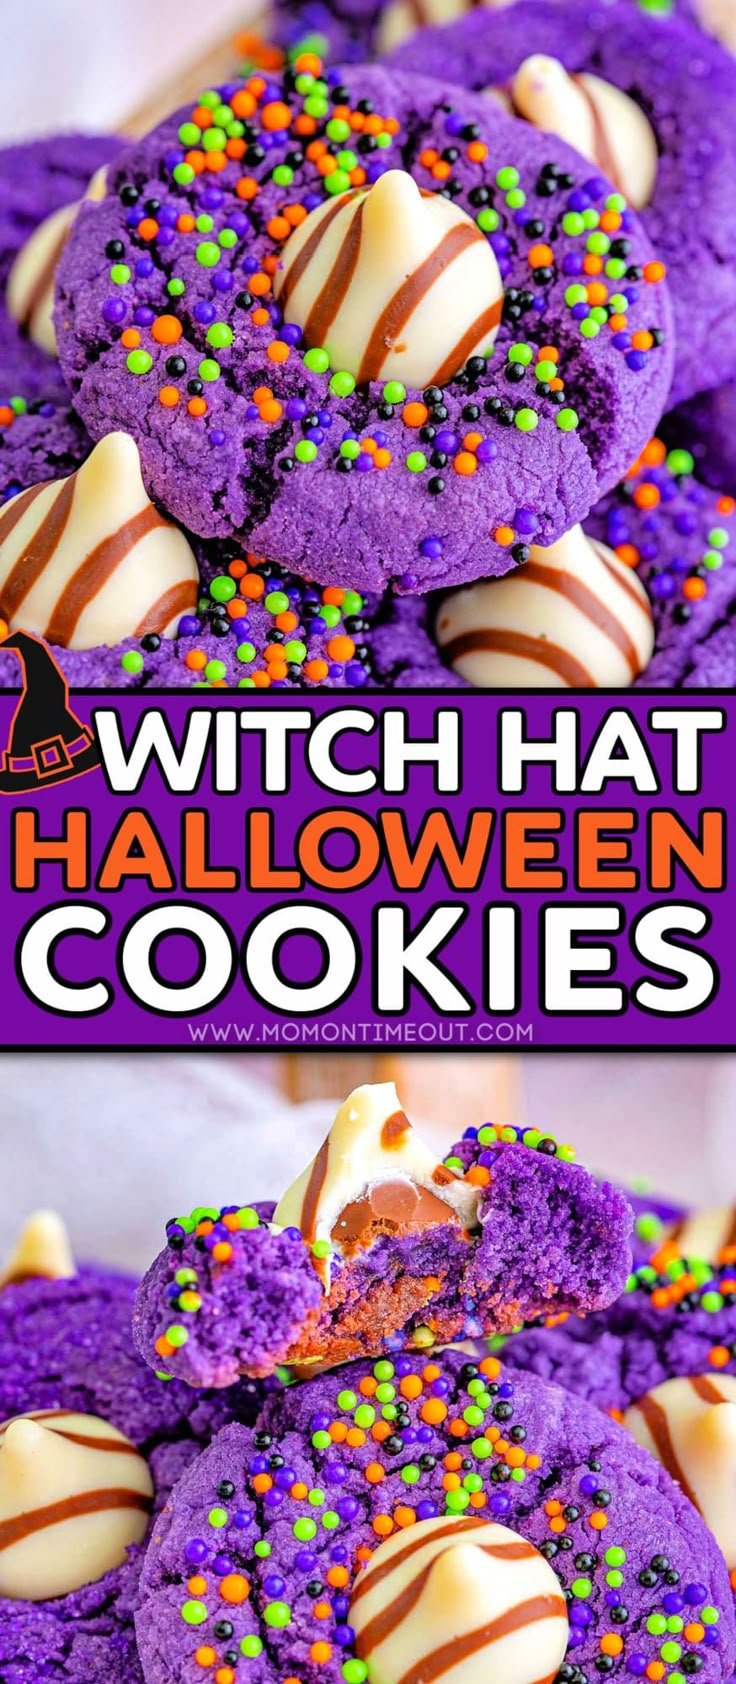
The Witch Hat Halloween Cookies are a delightful way to celebrate the spooky season! These fun treats combine the rich flavor of peanut butter with the sweetness of chocolate, making them not only eye-catching but also incredibly delicious. Ideal for Halloween parties, school events, or just a fun family baking day, these cookies are easy to make and perfect for any beginner.
Why You’ll Love Witch Hat Halloween Cookies
- Simple Ingredients: With just a handful of pantry staples needed, these cookies are easy to whip up anytime.
- Quick to Prepare: They take minimal time to prepare, allowing you to create a festive treat without spending hours in the kitchen.
- Creative and Fun: The witch hat shape adds a playful twist, making them super fun for kids and adults alike.
- Versatile Treats: These cookies can be dressed up for various occasions or enjoyed plain; they suit any palate.
- Deliciously Rich: The combination of peanut butter and chocolate creates a flavor that is sure to satisfy your sweet tooth.
Recipe Overview
- Prep Time: 10 minutes
- Cook Time: 10 minutes
- Total Time: 20 minutes
- Servings: 24 cookies
- Difficulty Level: Easy
Ingredients You’ll Need for Witch Hat Halloween Cookies
-
Dough Ingredients:
- 1 cup peanut butter (creamy or chunky for texture)
- 1 cup sugar (helps with sweetness and texture)
- 1 egg (binds the ingredients)
- 1 teaspoon baking soda (adds lift)
-
Decoration:
- 1 cup chocolate kisses or hugs (creates the witch hat effect)
- Sprinkles or additional sugar for rolling (for extra festive flair)
here
How to Make Witch Hat Halloween Cookies
-
Preheat the Oven
Preheat your oven to 350°F (175°C). This ensures your cookies bake evenly. -
Mix the Dough
In a mixing bowl, combine the peanut butter, sugar, egg, and baking soda. Mix until everything is well incorporated and the dough is smooth. -
Form the Cookies
Roll the dough into small balls about the size of a tablespoon. Roll each ball in sugar or sprinkles for an extra touch of sweetness and color. -
Prepare Baking Sheet
Place the rolled dough balls on a baking sheet lined with parchment paper, spacing them about 2 inches apart to allow for spreading. -
Bake the Cookies
Bake in the preheated oven for about 10 minutes or until they are lightly golden and slightly firm to the touch. -
Finish with Chocolate Kisses
Remove the cookies from the oven and immediately press a chocolate kiss or hug firmly on top of each cookie. The warmth from the cookie will melt the chocolate slightly, helping it stick. -
Cool and Serve
Allow the cookies to cool on the baking sheet for a few minutes before transferring them to a wire rack to cool completely. Enjoy your festive treats!
Tips for Success
- Don’t Overbake: Keep an eye on your cookies to avoid overbaking; they should be golden around the edges but still soft in the center.
- Chill the Dough: If the dough feels too sticky, refrigerating it for 15 minutes can make it easier to handle.
- Use Parchment Paper: Baking on parchment helps prevent sticking and makes for easy cleanup.
- Adjust Sugar: If you prefer a less sweet cookie, you can reduce the sugar slightly without affecting the overall texture.
Easy Variations
- Nut Butter Swap: Try using almond or cashew butter for a different flavor profile.
- Chocolate Swap: Use white chocolate or caramel candies instead of chocolate kisses for a unique twist.
- Add Spices: Incorporate a teaspoon of cinnamon or nutmeg to the dough for a warm, autumnal flavor.
- Decorative Toppings: Use Halloween-themed sprinkles or edible glitter to accent the cookies.
What to Serve with Witch Hat Halloween Cookies
- Milk: A classic pairing—milk complements the rich flavors of peanut butter perfectly.
- Halloween-themed Drinks: Serve with spooky pumpkin spice lattes or fun fruit punch.
- Ice Cream: Vanilla or chocolate ice cream makes a delightful side treat.
- Seasonal Fruit: Offer sliced apples or pears for a refreshing contrast to the sweet cookies.
Storage and Reheating
- Refrigerator Storage: Store the cookies in an airtight container in the refrigerator for up to one week.
- Freezer Storage: Freeze cookies in a single layer on a baking sheet, then transfer to a freezer bag for up to three months.
- Best Reheating Method: To enjoy warm cookies, reheat in the microwave for about 10-15 seconds.
- Preserving Texture: Keep cookies in a container with a piece of bread to maintain moisture and softness.
Common Mistakes to Avoid
- Using Old Baking Soda: Check the freshness of your baking soda to ensure your cookies rise properly.
- Skipping the Rolling Step: Rolling the cookies in sugar or sprinkles is essential for that festive look.
- Overcrowding the Baking Sheet: Leave enough space between cookies; they will spread as they bake.
- Not Letting Cookies Cool: Allowing cookies to cool properly helps them set and improves the texture.
Witch Hat Halloween Cookies: Background & Cultural Inspiration
Witch Hat Cookies are a playful and beloved treat during Halloween, embodying the festive spirit of the season. The tradition of baking themed treats during fall is widespread, as many cultures embrace harvest celebrations and spooky festivities. These cookies adapt the classic peanut butter cookie, a staple in American baking, giving it a fun twist perfect for Halloween gatherings. The incorporation of chocolate not only adds flavor but also creates a visual appeal, making them a fantastic centerpiece for any holiday dessert table.
Frequently Asked Questions
Can I use natural peanut butter?
Yes, just be aware that natural peanut butter may make the dough a bit stickier. You might need to adjust the sugar slightly.
How can I make these cookies gluten-free?
Simply substitute the regular sugar with a gluten-free sugar alternative. The recipe is naturally gluten-free as no flour is involved.
Can I make the dough ahead of time?
Absolutely! You can prepare the dough and refrigerate it in an airtight container for up to three days before baking.
What’s the best way to store leftover cookies?
Keep them in an airtight container at room temperature for up to five days or in the refrigerator for a longer shelf life.
Can I use different chocolates on top?
Yes! Many types of chocolates work well, including dark chocolate, milk chocolate, or even white chocolate. Just make sure they are easily meltable.
Final Thoughts
Witch Hat Halloween Cookies are not just easy to make, but they also bring a festive spirit to any gathering. The combination of peanut butter and chocolate creates a delightful taste experience that everyone will love. Whether you’re making them for a party or just to enjoy at home, these cookies are sure to be a hit. So gather your ingredients and get baking—these treats won’t last long!
PrintWitch Hat Halloween Cookies

Delightful peanut butter cookies topped with chocolate kisses, perfect for Halloween celebrations.
- Prep Time: 10 minutes
- Cook Time: 10 minutes
- Total Time: 20 minutes
- Yield: 24 cookies
- Category: Dessert
- Method: Baking
- Cuisine: American
- Diet: Vegetarian
Ingredients
- 1 cup peanut butter (creamy or chunky)
- 1 cup sugar
- 1 egg
- 1 teaspoon baking soda
- 1 cup chocolate kisses or hugs
- Sprinkles or additional sugar for rolling
Instructions
- Preheat your oven to 350°F (175°C).
- Combine the peanut butter, sugar, egg, and baking soda in a mixing bowl. Mix until smooth.
- Roll the dough into small balls about the size of a tablespoon and roll in sugar or sprinkles.
- Place the rolled dough balls on a baking sheet lined with parchment paper, spacing them 2 inches apart.
- Bake in the preheated oven for about 10 minutes until golden and firm.
- Press a chocolate kiss or hug onto each cookie immediately after baking.
- Cool on the baking sheet for a few minutes before transferring to a wire rack.
Notes
Avoid overbaking for soft centers. Chilling dough can help with handling.