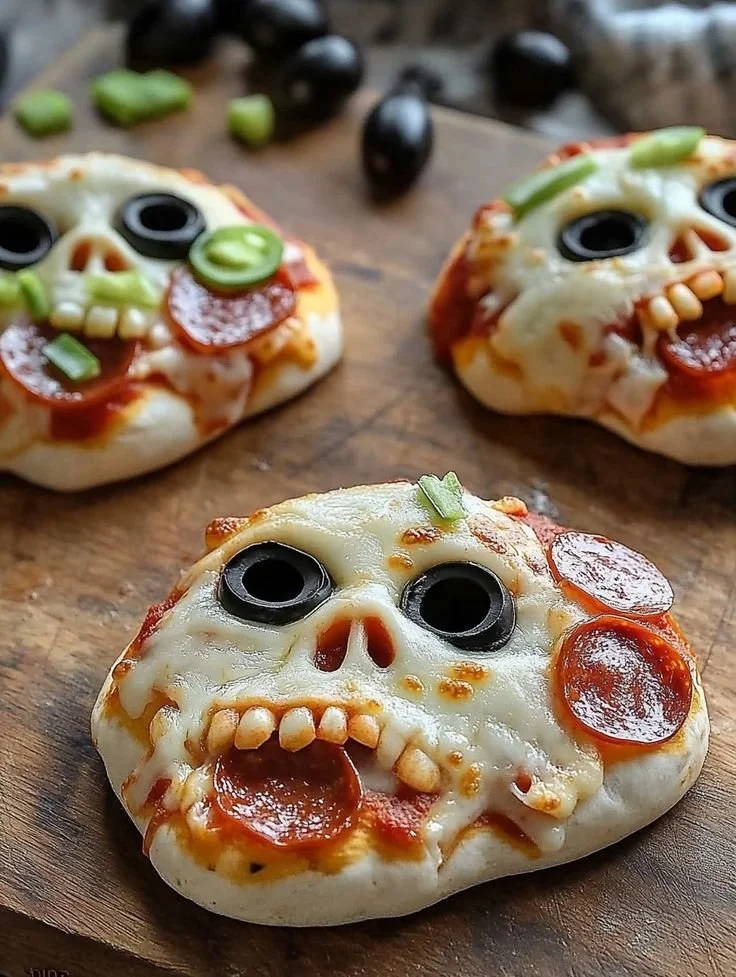
Imagine celebrating Halloween with a deliciously spooky treat that’s as fun to make as it is to eat. These skull-shaped stuffed pizzas are not only perfect for your Halloween festivities but also a hit with both kids and adults alike. They’re easy to prepare, making them an ideal choice for busy schedules, and they pack a savory flavor that will keep everyone coming back for more. Let’s get started on creating these delightful little skulls!
Why You’ll Love Skull-Shaped Stuffed Pizzas
- Fun Presentation: These skull-shaped pizzas are visually appealing, making them a great conversation starter at any gathering.
- Customizable Fillings: You can easily switch up the fillings based on your family’s preferences, allowing everyone to have their favorite flavors.
- Simple to Make: With just a few steps, these stuffed pizzas can be whipped up quickly, making them perfect for busy nights.
- Great for Kids: They’re an entertaining way to get kids involved in cooking, allowing them to help with the shaping and filling.
- Perfect for Parties: These pizzas make a fun, themed dish for Halloween parties, potlucks, or family get-togethers.
Recipe Overview
- Prep Time: 15 minutes
- Cook Time: 15-20 minutes
- Total Time: 30-35 minutes
- Servings: 4 servings
- Difficulty Level: Easy
Ingredients You’ll Need for Skull-Shaped Stuffed Pizzas
- Pizza Dough: 1 can of pizza dough serves as the base for your skulls.
- Pizza Sauce: For a delicious filling and flavor enhancement.
- Shredded Mozzarella Cheese: Provides a gooey, melty texture and cheese flavor.
- Pepperoni Slices: Adds protein and great taste.
- Olives: Used for creating eyes; you can substitute with other toppings if desired.
- Flour: For dusting the work surface to prevent sticking.
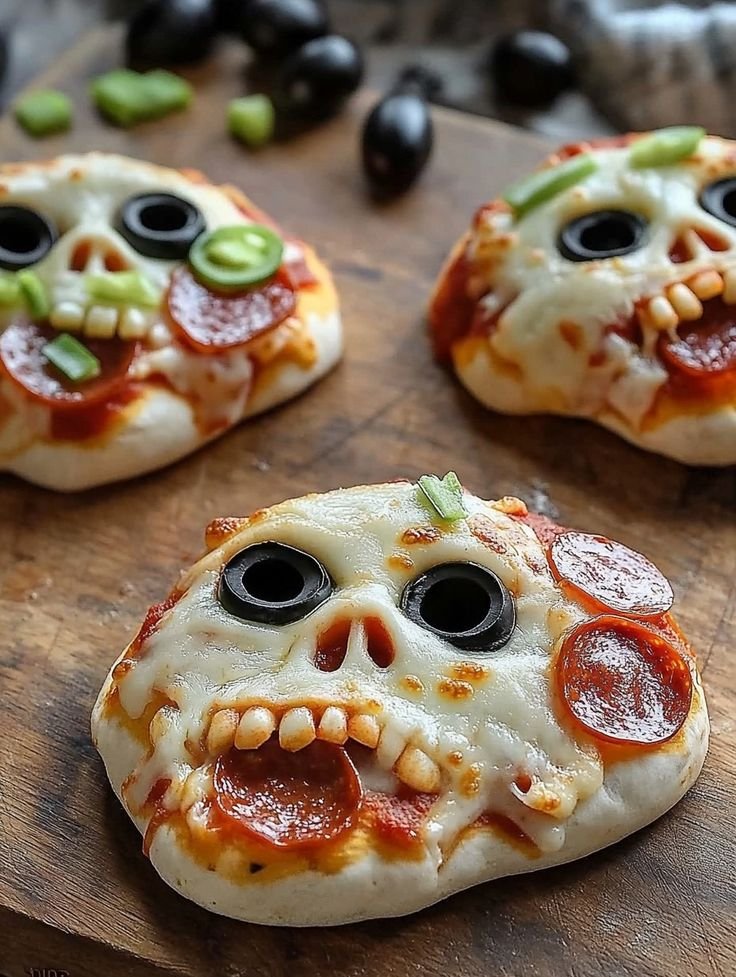
How to Make Skull-Shaped Stuffed Pizzas
- Preheat the Oven: Set your oven to 375°F (190°C) to ensure it’s hot and ready for baking.
- Prepare the Dough: Roll out the pizza dough on a floured surface. Use a skull-shaped cookie cutter to cut out shapes. If you don’t have a skull cutter, a round one works too.
- Add the Filling: On half of each skull shape, spread a spoonful of pizza sauce. Sprinkle shredded mozzarella cheese on the sauce and top with pepperoni slices.
- Seal the Pizzas: Place another skull shape on top of the filled one and gently seal the edges with your fingers. Ensure they’re well-sealed to prevent leaking during baking.
- Decorate the Eyes: Use olives to create eyes on top of the skulls, pressing them in gently.
- Bake: Place the prepared skull pizzas on a baking sheet and bake for 15-20 minutes, or until they are golden brown.
- Cool and Serve: Remove from the oven and let cool slightly before serving. Enjoy your spooky treat!
Tips for Success
- Avoid Overfilling: Do not add too much filling, as it can cause the dough to burst during baking.
- Check Doneness: Keep an eye on the pizzas towards the end of the baking time; they should be golden brown.
- Use Cold Dough: If your dough is too warm, it may be sticky and hard to handle. Chill it briefly if necessary.
- Even Thickness: Roll out the dough to an even thickness to ensure uniform cooking.
Easy Variations
- Vegetarian Option: Replace pepperoni with chopped vegetables such as bell peppers, mushrooms, or spinach for a vegetarian version.
- Spicy Twist: Add jalapeños or red pepper flakes to the filling for a spicy kick.
- Different Cheeses: Use a blend of cheeses like cheddar or provolone for varied flavors.
- Dessert Pizzas: For a sweet version, fill the skull shapes with chocolate spread and mini marshmallows.
What to Serve with Skull-Shaped Stuffed Pizzas
- Garlic Bread: A classic side that pairs well with pizza.
- Salad: A fresh green salad can balance the richness of the pizza, adding a healthy touch.
- Soup: A warm bowl of tomato soup complements the stuffed pizzas perfectly.
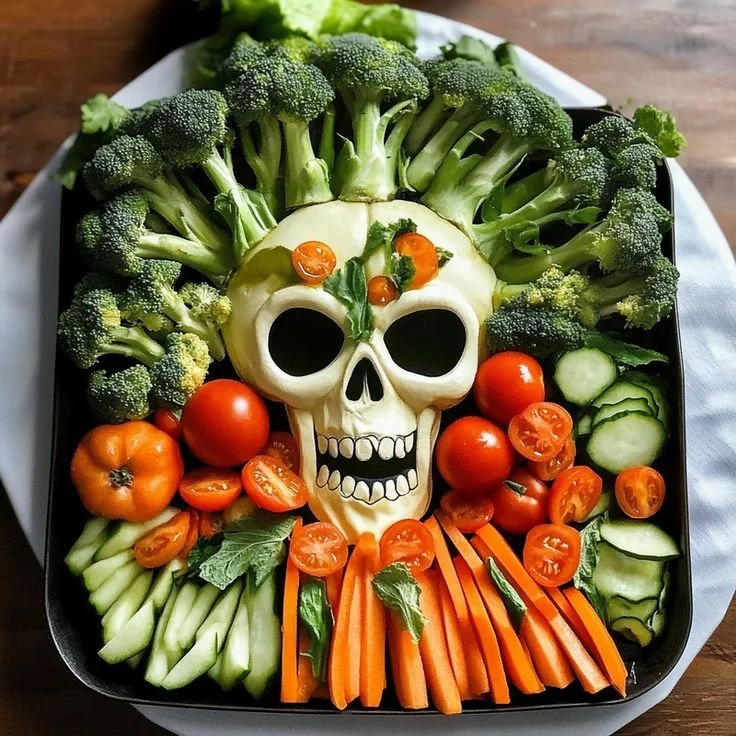
- Veggie Platter: Fresh vegetables with dip make for a great appetizer option alongside the main dish.
Storage and Reheating
- Refrigerator Storage: Store any leftovers in an airtight container in the refrigerator for up to 3 days.
- Freezer Storage: If you wish to freeze the stuffed pizzas, place them in a single layer on a baking sheet, freeze until solid, then transfer them to a freezer bag for up to 1 month.
- Best Reheating Method: Reheat in the oven at 350°F (175°C) for about 10 minutes to preserve the crust’s texture.
- Meal Prep Note: You can prepare the skulls ahead of time and keep them in the fridge until ready to bake.
Common Mistakes to Avoid
- Not Sealing Properly: Failing to seal the edges can cause filling to leak out during baking.
- Skipping the Dusting: Not flouring your work surface may lead to sticking and difficulty handling the dough.
- Overbaking: Keep a close watch to prevent burning; every oven is different and times may vary.
Skull-Shaped Stuffed Pizzas: Background & Cultural Inspiration
Skull-shaped stuffed pizzas draw inspiration from the traditions of Halloween and the artistic style often seen in festive foods during this time of year. These whimsical shapes are popular not just for their appearance but also for their playfulness. The idea of celebrating food with creativity has roots in various cultures, notably in Mexican Día de los Muertos (Day of the Dead) festivities, where skull motifs serve as a way to honor the deceased. By turning a classic dish like pizza into something spooky and fun, you engage in a shared cultural experience that blends flavors and festivities.
Frequently Asked Questions
Can I use homemade pizza dough?
Absolutely! Homemade pizza dough works perfectly; just ensure it’s rolled out thinly for the best results.
How can I make these pizzas ahead of time?
You can prepare the pizzas up to sealing them, store them in the fridge, and bake them when you’re ready to serve.
What can I substitute for olives?
If you’re not an olive fan, use pepper slices or small dots of pizza sauce for the eyes.
How spicy are these pizzas?
The spice level is mild with pepperoni; to increase heat, consider adding spicy vegetables or hot sauce to the filling.
Can I bake these on a pizza stone?
Yes, a pizza stone can actually enhance the crust’s texture. Preheat the stone in the oven before placing the pizzas on it.
Final Thoughts
Making skull-shaped stuffed pizzas is a delightful way to embrace the Halloween spirit with delicious, shareable food. They’re simple to make, customizable, and sure to be a hit at any gathering. Whether you’re hosting a party or just looking to have some fun in the kitchen, this recipe promises to add a festive touch to your table. Don’t hesitate to try these delightful skulls for an unforgettable treat!
PrintSkull-Shaped Stuffed Pizzas

Celebrate Halloween with these fun and customizable skull-shaped stuffed pizzas that are perfect for gatherings.
- Prep Time: 15 minutes
- Cook Time: 20 minutes
- Total Time: 35 minutes
- Yield: 4 servings
- Category: Main Course
- Method: Baking
- Cuisine: Italian
- Diet: Vegetarian
Ingredients
- 1 can of pizza dough
- Pizza sauce
- Shredded mozzarella cheese
- Pepperoni slices
- Olives
- Flour for dusting
Instructions
- Preheat the oven to 375°F (190°C).
- Prepare the pizza dough on a floured surface. Use a skull-shaped cookie cutter to cut out shapes.
- Add a spoonful of pizza sauce on half of each skull shape. Sprinkle shredded mozzarella cheese and top with pepperoni slices.
- Seal another skull shape on top and gently press the edges to ensure they are well-sealed.
- Decorate the eyes with olives.
- Bake for 15-20 minutes or until golden brown.
- Cool slightly before serving.
Notes
Avoid overfilling to prevent leaking during baking. Use cold dough for easier handling.