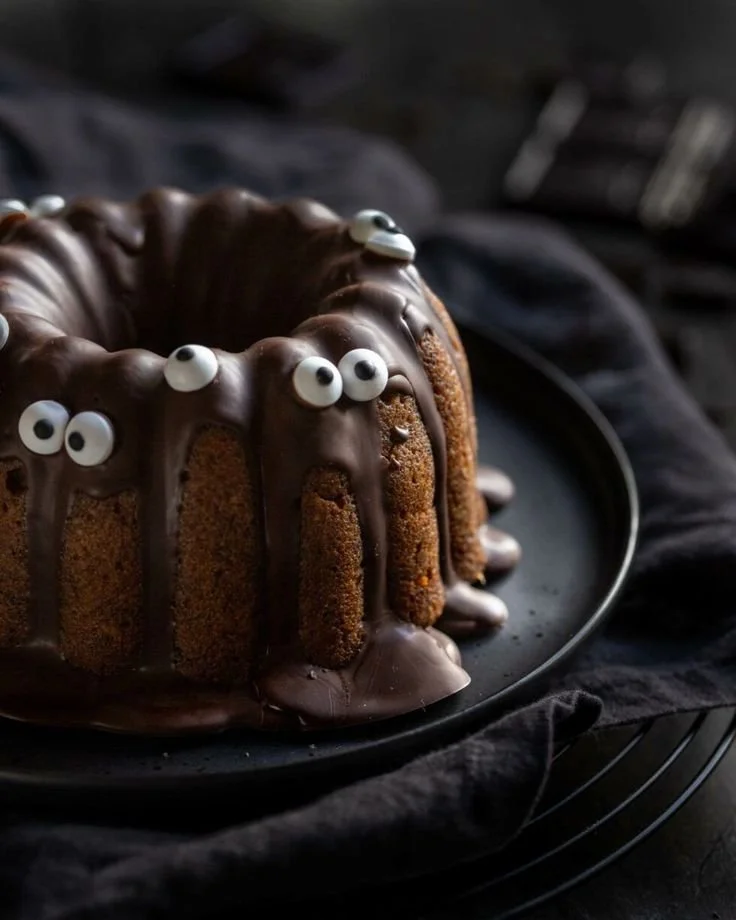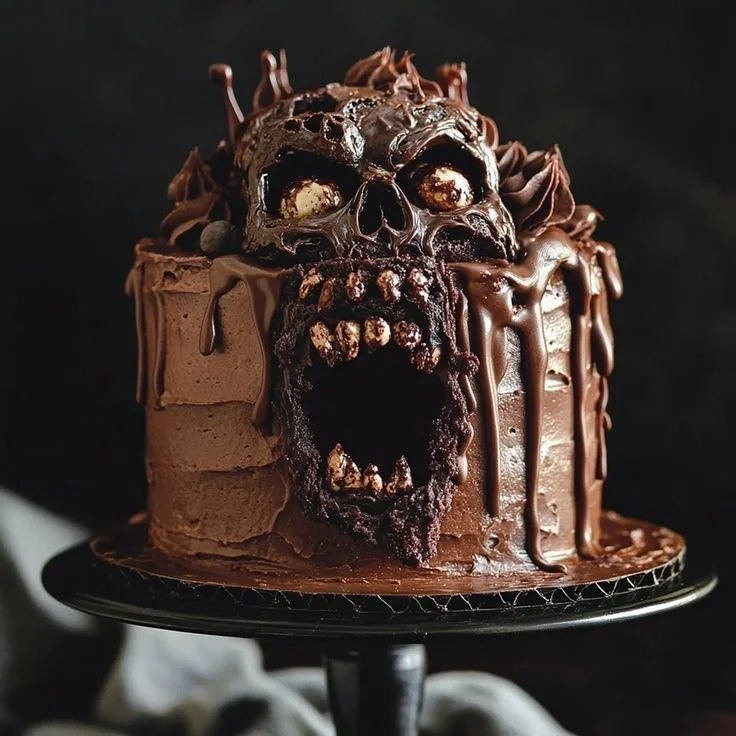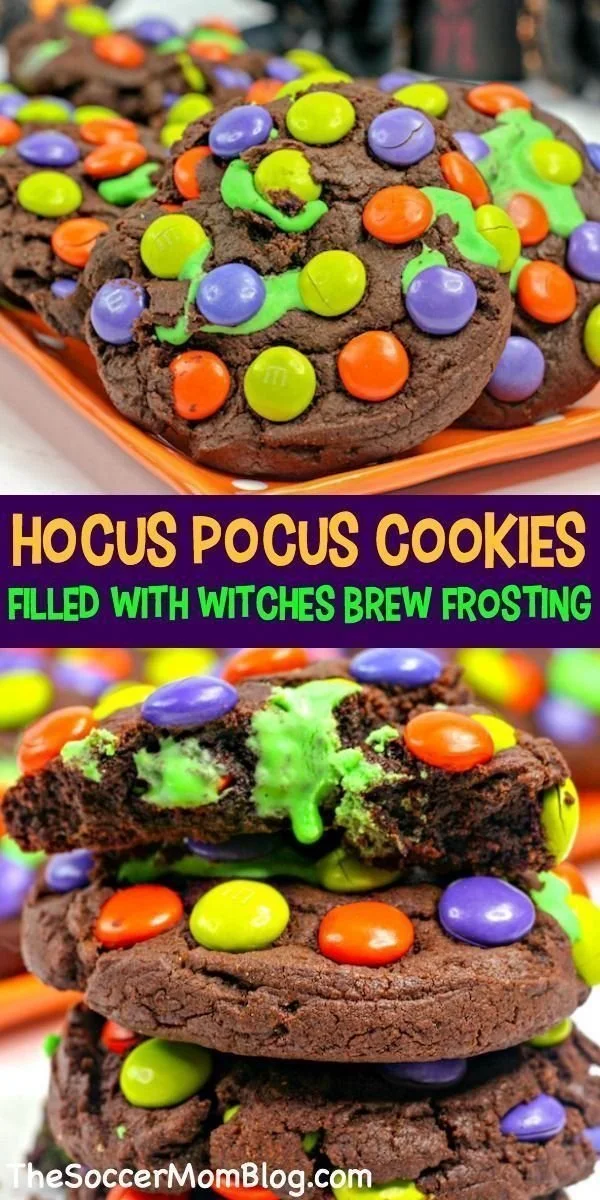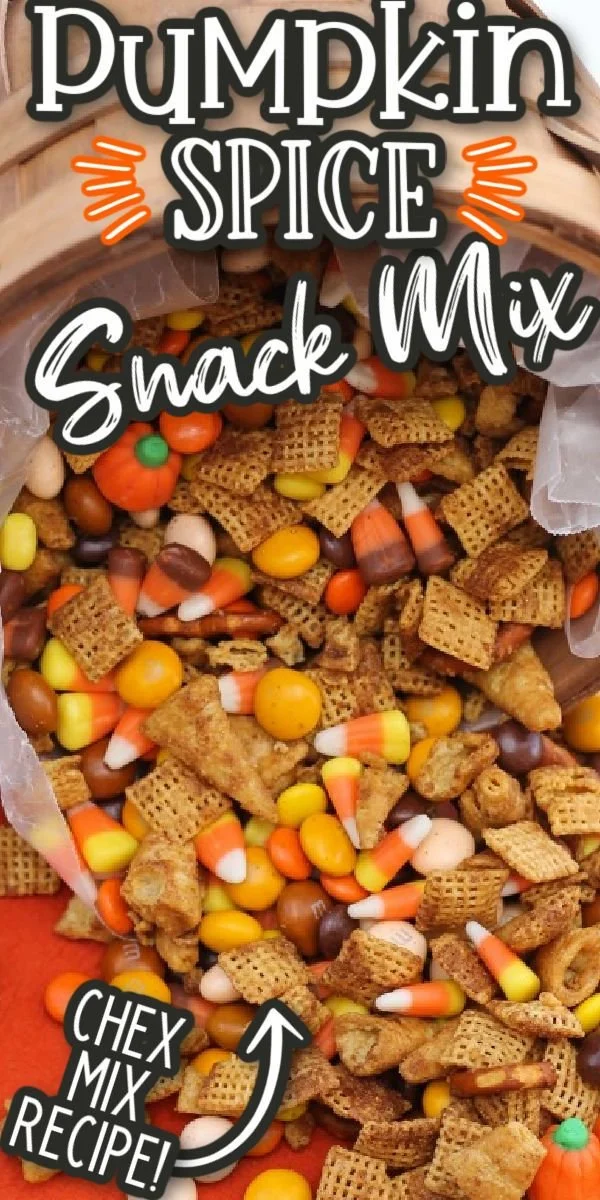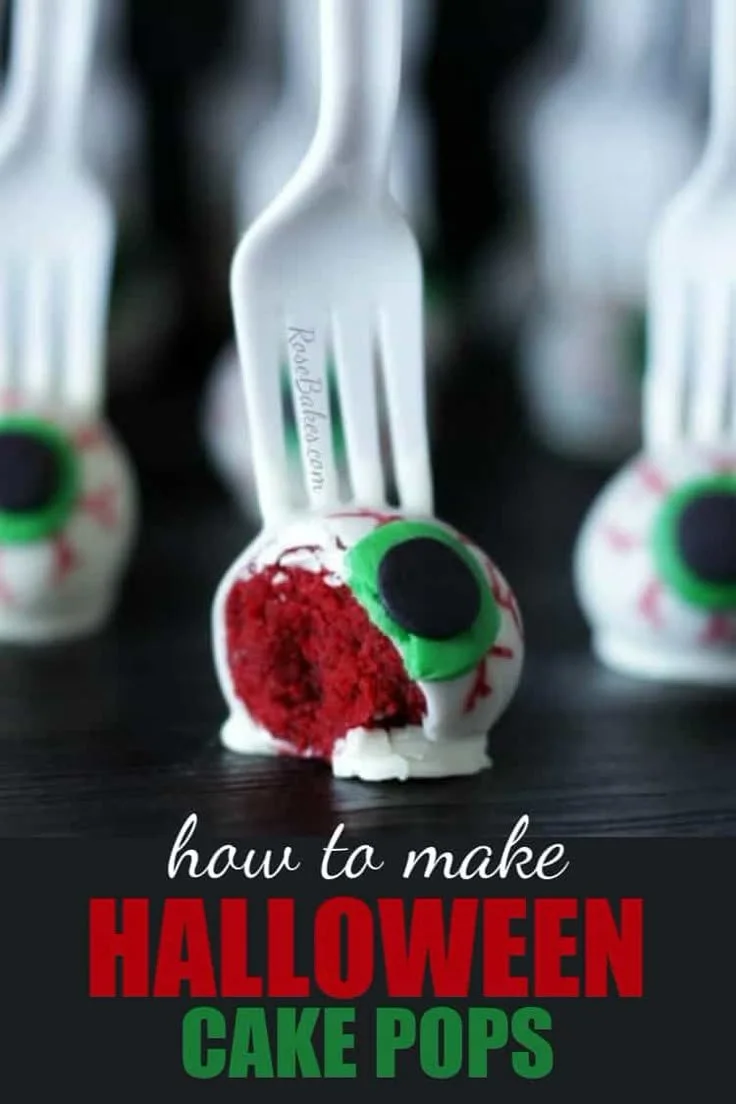
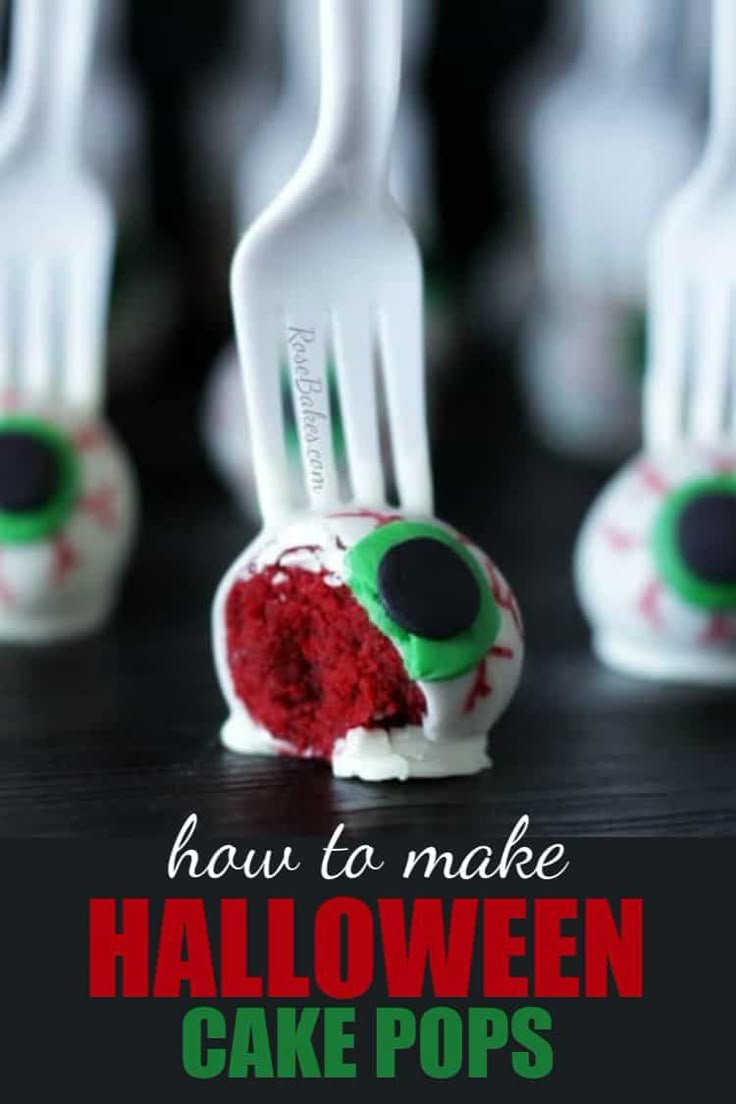
Halloween Cake Pops: Eyeballs on a Fork are a playful and deliciously spooky treat that adds fun to any festive gathering. These cake pops are not only adorable but also incredibly easy to make, making them perfect for both seasoned bakers and beginner home cooks. Whether you’re hosting a Halloween party or simply looking to enjoy a themed snack, these cake pops will steal the show!
Why You’ll Love Halloween Cake Pops
- Spooky Presentation: The candy-coated eyeball design makes them a hit for Halloween parties, ensuring they capture the attention of guests and little ones alike.
- Simple to Make: With minimal ingredients and straightforward steps, these cake pops are accessible for all skill levels, allowing you to join in the fun without feeling overwhelmed.
- Customizable Flavors: You can easily change the cake and frosting flavors to suit your tastes or dietary needs, creating a personalized treat.
- Perfect for Parties: These cake pops are easy to serve and eat, making them an ideal snack for parties where guests may be mingling and socializing.
- Fun Activity: Making these cake pops can be a joyful activity for families, allowing everyone to pitch in and create together, from crumbling the cake to decorating the pops.
Recipe Overview
- Prep Time: 15 minutes
- Cook Time: 30 minutes (for baking the cake)
- Total Time: 45 minutes, plus 30 minutes for freezing
- Servings: About 12 cake pops
- Difficulty Level: Easy
Ingredients You’ll Need for Halloween Cake Pops
- Cake: 1 box of your favorite cake mix (choose chocolate or vanilla for a classic flavor)
- Frosting: 1 can of matching flavor frosting (chocolate or vanilla)
- Candy Coating: 1 package of candy melts (white or colored, your choice)
- Candy Eyes: Edible candy eyes or chocolate pieces for eyes
- Lollipop Sticks: For holding the cake pops together
- Sprinkles: Optional, for added decoration
How to Make Halloween Cake Pops
- Bake the Cake: Prepare the cake mix according to the package instructions. Bake as directed and let the cake cool completely on a wire rack.
- Crumble the Cake: Once the cake is cool, crumble it into a large mixing bowl until it resembles fine crumbs. Ensure there are no large chunks remaining for the best texture.
- Mix in the Frosting: Add the frosting to the crumbled cake. Use your hands or a spatula to thoroughly combine the mixture until it holds together well.
- Shape the Cake Pops: Using your hands, roll the mixture into small balls (about 1 to 1.5 inches in diameter) and place them on a parchment-lined baking sheet.
- Insert the Sticks: Take a lollipop stick and insert it into each cake ball, pushing it halfway through. This will help keep the stick secure.
- Freeze the Cake Pops: Place the baking sheet in the freezer and let the cake pops chill for about 30 minutes. This step ensures they hold their shape when dipped in the candy coating.
- Melt the Candy Coating: While the cake pops are freezing, melt the candy coating according to package instructions in the microwave or using a double boiler until smooth.
- Dip the Cake Pops: Remove the pops from the freezer and carefully dip each one into the melted candy coating, ensuring they are fully covered. Gently tap off any excess coating.
- Decorate with Eyes: Before the candy coating hardens, place the candy eyes on each cake pop to create the eyeball effect. Be creative—angle them for added character!
- Allow to Set: Let the cake pops sit on the parchment paper until the coating has fully set. This usually takes about 10 minutes.
Tips for Success
- Use a Cold Cake: Ensure the cake has cooled completely before crumbling, as this will make mixing easier.
- Don’t Overmix: When combining the frosting and cake, mix just until incorporated. Overmixing can lead to a dense cake pop.
- Control the Temperature: If the melted candy coating is too thick, you can add a small amount of vegetable shortening to achieve the desired consistency for dipping.
- Experiment with Colors: Use different colors of candy melts for a vibrant display. Marginal differences in colors can enhance the Halloween effect!
Easy Variations
- Flavor Swaps: Use red velvet cake mix paired with cream cheese frosting for a festive twist.
- Fillings: Add a splash of flavored extract like vanilla or almond to the cake mix for an extra layer of flavor.
- Dairy-Free Option: Choose a dairy-free cake mix and frosting to accommodate dietary needs.
- Chocolate Dipped: Use chocolate candy coating instead of colored candy for a classic treat.
- Add Texture: Roll the finished cake pops in crushed nuts or cookie crumbs for added crunch.
What to Serve with Halloween Cake Pops
- Hot Cocoa: The warm, rich flavors of hot cocoa contrast nicely with the sweet cake pops, making for a cozy pairing.
- Caramel Dip: Serve with a side of caramel sauce for an extra layer of indulgence.
- Halloween Cookies: Offer a variety of spooky-themed cookies alongside for fun and variety.
- Fruit Platter: Balance the sweetness of the cake pops with a fresh fruit platter to add freshness to your dessert table.
- Sparkling Cider: A glass of fizzy sparkling cider can enhance the festive atmosphere and pair well with these playful treats.
Storage and Reheating
- Refrigerator Storage: Store leftover cake pops in an airtight container in the refrigerator for up to a week.
- Freezer Storage: For longer freshness, freeze cake pops in a single layer on a baking sheet, then transfer them to an airtight container or freezer bag for up to a month.
- No Reheating Needed: These cake pops are best enjoyed cold after chilling. Let them sit at room temperature for a few minutes if they’ve been frozen.
Common Mistakes to Avoid
- Skipping the Freezer Step: Freezing the cake pops helps maintain their shape when dipping, so don’t skip this step!
- Too Much Frosting: Adding too much frosting can make the mixture too wet, leading to cake pops that fall apart during dipping.
- Not Tapping Off Excess Coating: Failing to remove excess candy coating can cause a thick layer that can crack easily, leading to a mess.
- Not Allowing to Set: Giving the candy coating time to set is essential—impatience can lead to smudged designs.
Halloween Cake Pops: Background & Cultural Inspiration
Halloween cake pops bring a modern twist to an age-old tradition of autumn treats. Cake pops originated as a creative solution to utilize leftover cake, transforming waste into delightful bites. Their fun and playful designs tie into Halloween’s spirit of whimsy and fright, making them a favorite for the holiday. In recent years, cake pops have gained popularity in the dessert scene, celebrated for their versatility and ease of customization. Halloween adds an extra layer of creativity to this dessert, allowing bakers to explore various themes, flavors, and visual ideas that resonate with the spooky vibe of the season.
Frequently Asked Questions
Can I use homemade cake instead of a mix?
Absolutely! Homemade cake works perfectly fine. Just ensure it’s fully cooled before crumbling.
How can I make these cake pops ahead of time?
You can prepare and freeze the uncoated cake pops about 2 weeks in advance. Simply coat them just before serving.
Can I use different candies for decoration?
Yes, you can use chocolate chips, mini marshmallows, or any edible decoration to create different designs.
How do I store cake pops?
Store them in an airtight container in the refrigerator for up to a week. They can also be frozen for about a month.
What if my candy coating won’t melt smoothly?
If your candy melts aren’t melting well, try adding a teaspoon of vegetable shortening to help achieve a smoother consistency.
Final Thoughts
These Halloween Cake Pops: Eyeballs on a Fork are sure to be a highlight of your Halloween festivities. Their easy preparation, delightful appearance, and customizable flavors make them a fun treat that invites everyone to join in the Halloween spirit. So gather your ingredients and create these spooky delights; they’re a guaranteed crowd-pleaser that everyone will enjoy!
PrintHalloween Cake Pops: Eyeballs on a Fork
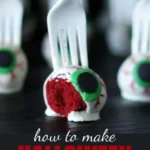
These playful cake pops are easy to make and add a spooky touch to any Halloween gathering. Tenaciously customizable, these treats will be a hit with guests of all ages.
- Prep Time: 15 minutes
- Cook Time: 30 minutes
- Total Time: 75 minutes
- Yield: 12 cake pops
- Category: Dessert
- Method: Baking
- Cuisine: American
- Diet: Vegetarian
Ingredients
- 1 box of cake mix (chocolate or vanilla)
- 1 can of matching flavor frosting (chocolate or vanilla)
- 1 package of candy melts (white or colored)
- Edible candy eyes or chocolate pieces for decoration
- Lollipop sticks
- Optional sprinkles for decoration
Instructions
- Bake the cake according to the package instructions and let it cool completely.
- Crumble the cooled cake into a large mixing bowl until it resembles fine crumbs.
- Mix in the frosting until the mixture holds together well.
- Shape the mixture into small balls (about 1 to 1.5 inches) and place them on a parchment-lined baking sheet.
- Insert a lollipop stick halfway into each cake ball.
- Freeze the cake pops for about 30 minutes to help them hold their shape.
- Melt the candy coating according to package instructions.
- Dip each cake pop into the melted candy coating and tap off excess.
- Decorate with candy eyes before the coating hardens.
- Allow the cake pops to sit until the coating fully sets (about 10 minutes).
Notes
Use a cold cake for easier mixing, and avoid overmixing to prevent dense cake pops. Experiment with candy colors for festive flair.