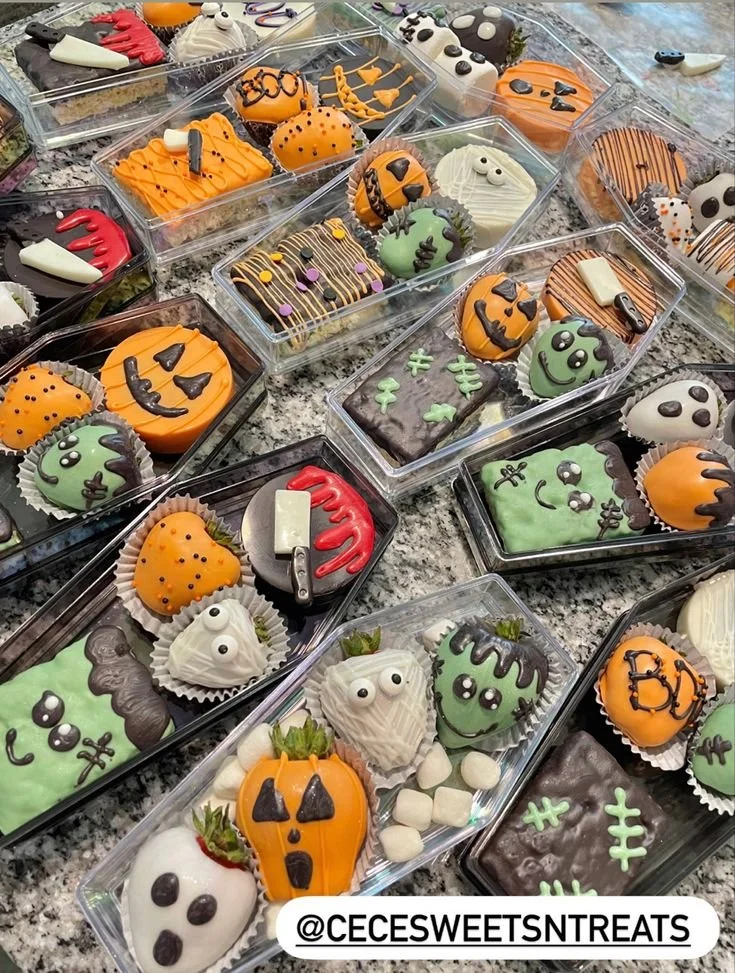
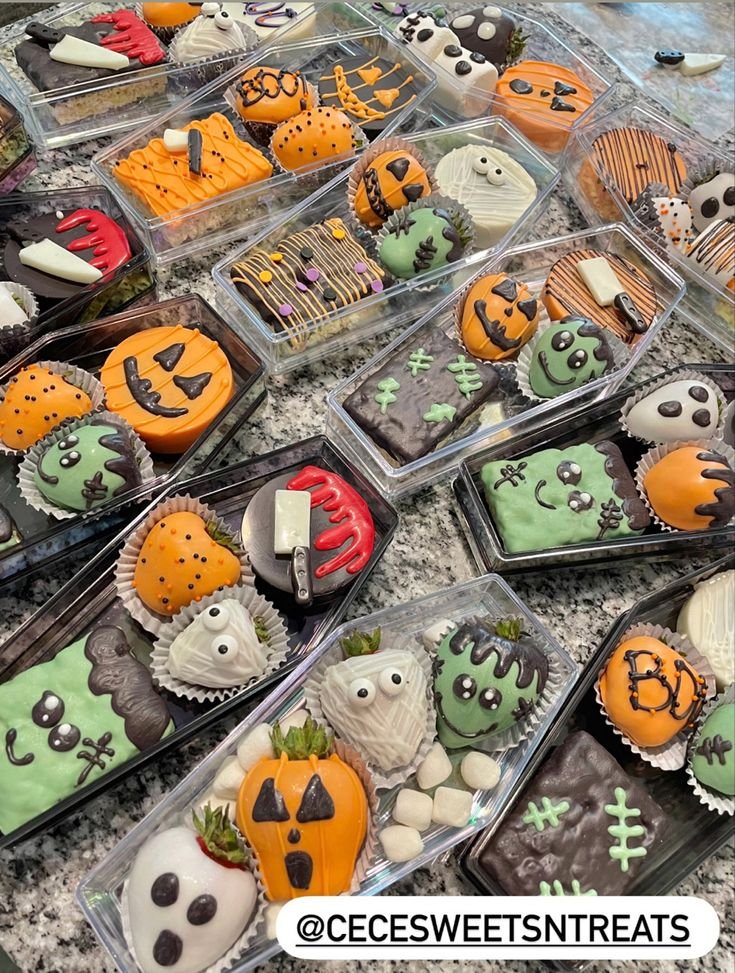
Delight in making these playful and colorful Chocolate-Covered Halloween Treats! This recipe is perfect for capturing the festive spirit of Halloween while being easy to prepare. With just a handful of ingredients, you can create fun and spooky treats that both kids and adults will love. Not only do these delightful treats look impressive, but they also offer a variety of textures and flavors that make them a treat worth sharing.
Why You’ll Love Chocolate-Covered Halloween Treats
- Fun to Make: Engage your creativity as you dip and decorate each treat. This recipe is ideal for involving kids in the kitchen, turning snack time into a fun family activity.
- Versatile Options: With a mix of strawberries, Rice Krispies, Oreos, and marshmallows, there’s something for everyone. You can customize your treats based on personal preferences and available ingredients.
- Perfect for Parties: Whether it’s a Halloween party or a festive get-together, these treats are sure to impress and are easily shareable. Their eye-catching colors make a great addition to any dessert table.
- Simple and Quick: You can whip these treats up in about an hour, making them a quick solution for unexpected snack cravings or last-minute party preparations.
- Deliciously Satisfying: Each treat offers a delightful combination of chocolate and crunch, satisfying your sweet tooth while keeping things light and fun.
Recipe Overview
- Prep Time: 20 minutes
- Cook Time: 10 minutes
- Total Time: 30 minutes
- Servings: 12 treats
- Difficulty Level: Easy
Ingredients You’ll Need for Chocolate-Covered Halloween Treats
- Fruits and Sweets:
- 12 Strawberries
- 12 Marshmallows
- 12 Oreo Cookies
- Chocolate:
- 12 oz Chocolate (for melting; you can use dark, milk, or white chocolate)
- Crispy Treat Base:
- 4 cups Rice Krispies
- 1 cup Mini Marshmallows
- 2 tablespoons Butter
- Optional Decorations:
- Sprinkles (Halloween-themed for extra flair)
To enhance the flavor, consider using high-quality chocolate for melting, as it will provide a richer taste. When selecting strawberries, choose those that are firm and fresh for best results.
How to Make Chocolate-Covered Halloween Treats
-
Melt the Chocolate: In a microwave-safe bowl, melt the chocolate in 30-second intervals, stirring in between until it’s smooth. Alternatively, use a double boiler to melt the chocolate gently over simmering water. Make sure not to overheat the chocolate to prevent it from burning.
-
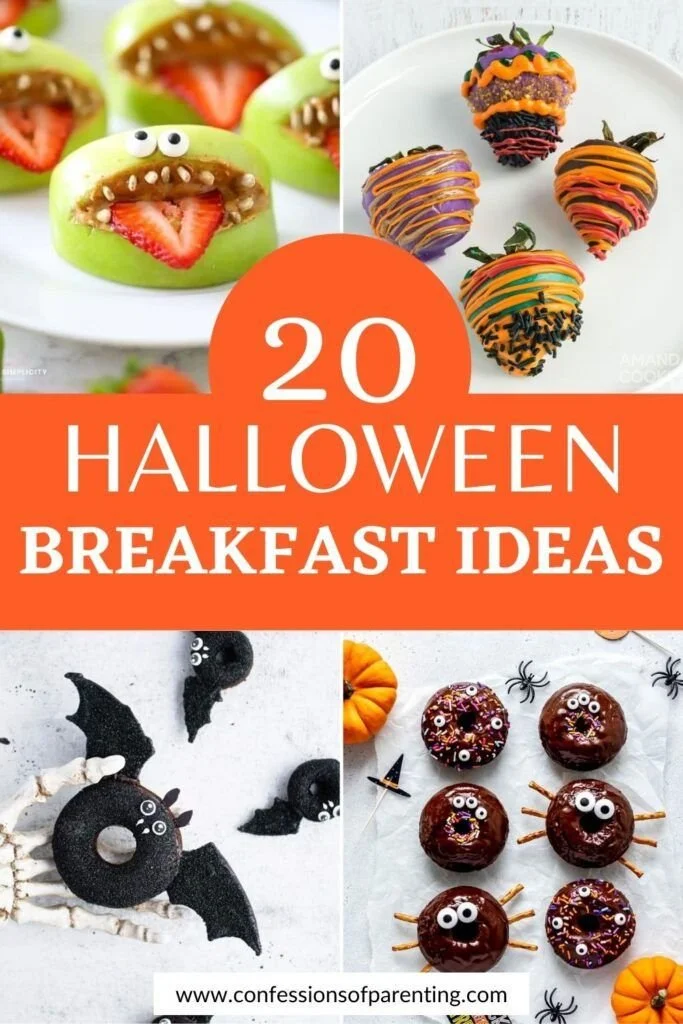
Dip the Strawberries: Hold each strawberry by the stem, dip it halfway into the melted chocolate, and allow any excess to drip off. Place the dipped strawberries on a parchment-lined tray to cool and set.
-
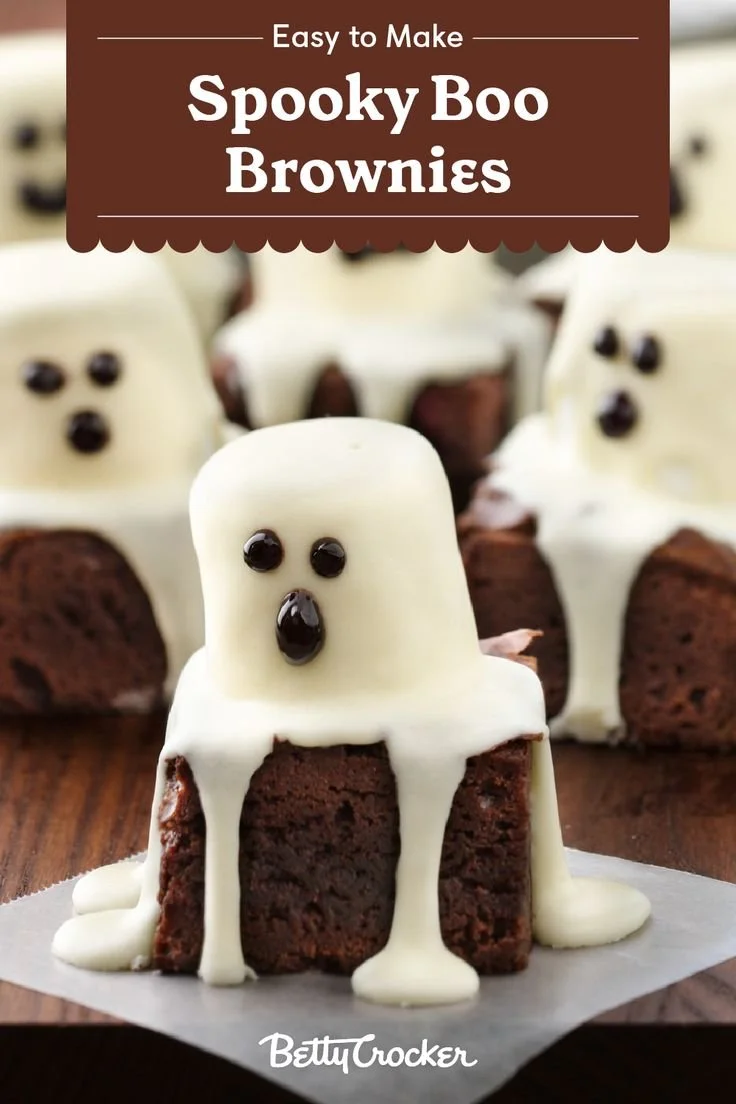
Make the Rice Krispie Treats: In a saucepan over medium heat, melt the butter and mini marshmallows together until fully melted. Remove from heat and stir in the Rice Krispies until evenly coated. Let the mixture cool slightly, then shape it into ghost or pumpkin-shaped blobs using your hands or a cookie cutter.
-
Dip the Oreos: Gently dip each Oreo in the melted chocolate, ensuring they’re fully coated. Transfer them to the parchment-lined tray to allow the chocolate to set.
-
Prepare the Marshmallow Pops: Skewer each marshmallow with a stick, dip them in chocolate, and then quickly add sprinkles before the chocolate hardens. Place these on the tray to set as well.
-
Set and Serve: Allow all treats to rest at room temperature until the chocolate is fully set. This usually takes about 15 minutes. Once set, your delightful Halloween treats are ready to enjoy!
Tips for Success
- Keep Chocolate Warm: If the chocolate begins to harden during the dipping process, gently reheat it in the microwave for a few seconds to maintain a smooth consistency.
- Shape Rice Krispie Treats Quickly: Work while the Rice Krispie mixture is still warm to easily mold them into shapes. Use cooking spray on your hands to prevent sticking.
- Use Parchment Paper: This not only makes for easy cleanup but also ensures the treats don’t stick to the tray.
- Experiment with Toppings: Customize the sprinkles and decorations based on your Halloween theme for a fun twist.
- Allow Proper Cooling Time: Don’t rush the setting process. It’s crucial for avoiding a mess and achieving a beautiful finish.
Easy Variations
- Loaded Treats: Add crushed candy corn, nuts, or mini chocolate chips to the Rice Krispie treat mixture for added flavor and texture.
- Dipped Fruit: Try using bananas or apple slices instead of strawberries for a fruitier option. Just be cautious of browning with fruits like apples—serve them quickly!
- Gluten-Free: Ensure you use gluten-free Oreos and check that your marshmallows and chocolate are certified gluten-free for a safe treat.
- Peanut Butter Drizzle: Drizzle melted peanut butter over the set chocolate for a rich, nutty flavor in combination with sweet chocolate.
- Colorful Chocolate: Use colored candy melts in addition to or instead of chocolate for a vibrant look that’s especially festive for Halloween.
What to Serve with Halloween Treats
- Hot Chocolate: The warmth and sweetness of hot chocolate complement these treats wonderfully, making for a cozy combination.
- Pumpkin Dip: A creamy pumpkin dip pairs beautifully with these treats, especially with the crispy options.
- Festive Fruit Punch: Serve a refreshing fruit punch or Halloween-themed beverage to balance the sweetness of the desserts.
- Popcorn Mix: Create a popcorn mix that includes candy corn and chocolate drizzle for a crunchy accompaniment.
- Cheese Platter: A savory cheese platter can provide a nice contrast and balance out the sweetness of the Halloween treats.
Storage and Reheating
- Refrigerator Storage: Store the treats in an airtight container in the fridge for up to 3 days. The cooler temperature will help maintain their freshness.
- Freezer Storage: If you want to keep the treats longer, they can be frozen for up to one month. Layer them with parchment paper in an airtight container to prevent sticking.
- Reheating: There’s no need to reheat these treats. Enjoy them cold or at room temperature for the best experience.
- Texture Preservation: To maintain their crunchiness, avoid storing the treats in a humid environment.
Common Mistakes to Avoid
- Overheating Chocolate: Be cautious when melting chocolate; overheating can cause it to seize up and become unusable.
- Skipping the Cooling Time: Rushing to serve the treats before the chocolate sets can lead to messy results.
- Using Stale Ingredients: Fresh ingredients are key to achieving the best flavor, so be sure to check your marshmallows and chocolate for freshness.
- Not Using Parchment Paper: Skipping parchment paper can lead to sticking, making it difficult to remove your treats once set.
Chocolate-Covered Halloween Treats: Background & Cultural Inspiration
Chocolate-covered treats have long been a favorite, especially during festive seasons like Halloween. The tradition of goodies made from chocolate has roots in various cultures, where chocolate symbolizes richness and celebration. Halloween, with its focus on sweets and fun, invites creativity in treating those around us. Whether it’s for trick-or-treaters, parties, or family gatherings, these treats resonate with the spirit of fall festivities and togetherness.
Frequently Asked Questions
Can I use other types of chocolate for melting?
Yes! You can use any type of chocolate you prefer, such as dark, milk, or white chocolate. You could also try flavored chocolates like butterscotch or mint for an interesting twist.
How should I store any leftovers?
Any uneaten treats should be stored in an airtight container in the fridge for up to 3 days. If you freeze them, be sure to separate layers with parchment paper to avoid sticking.
Can I prepare these treats in advance?
Absolutely! You can make these treats a day ahead of time. Just store them properly to keep them fresh.
What is the best way to melt chocolate?
The best way is to use a microwave in short intervals, stirring between each session to ensure an even melt. Alternatively, a double boiler allows for gentle and controlled melting.
Can I make these treats vegan?
To make these treats vegan, use dairy-free chocolate, and choose vegan marshmallows. The Rice Krispies should also be checked for any non-vegan ingredients.
Final Thoughts
Chocolate-Covered Halloween Treats are not only a delight to make but also a joy to share with friends and family. Their colorful presentation and variety of flavors will bring smiles to everyone’s faces. Give this recipe a try this Halloween, and enjoy the spirit of the season while creating delicious memories in the kitchen!
PrintChocolate-Covered Halloween Treats
Delight in making these playful and colorful chocolate-covered treats that embody the festive spirit of Halloween.
- Prep Time: 20 minutes
- Cook Time: 10 minutes
- Total Time: 30 minutes
- Yield: 12 treats
- Category: Dessert
- Method: No-Bake
- Cuisine: American
- Diet: Vegetarian
Ingredients
- 12 Strawberries
- 12 Marshmallows
- 12 Oreo Cookies
- 12 oz Chocolate (for melting; dark, milk, or white chocolate)
- 4 cups Rice Krispies
- 1 cup Mini Marshmallows
- 2 tablespoons Butter
- Sprinkles (Halloween-themed for decoration)
Instructions
- Melt the chocolate in a microwave-safe bowl in 30-second intervals, stirring until smooth.
- Dip each strawberry halfway into the melted chocolate, allowing excess to drip off, then place on a parchment-lined tray.
- Make the Rice Krispie treats by melting butter and mini marshmallows in a saucepan, then mixing in Rice Krispies.
- Shape the cooled Rice Krispie mixture into ghost or pumpkin shapes.
- Dip each Oreo in the melted chocolate and place on the tray to set.
- Skewer each marshmallow, dip it in chocolate, and add sprinkles before the chocolate hardens.
- Allow all treats to rest until chocolate is set, about 15 minutes.
Notes
Use high-quality chocolate for richer flavor. Store treats in an airtight container in the fridge for up to 3 days.