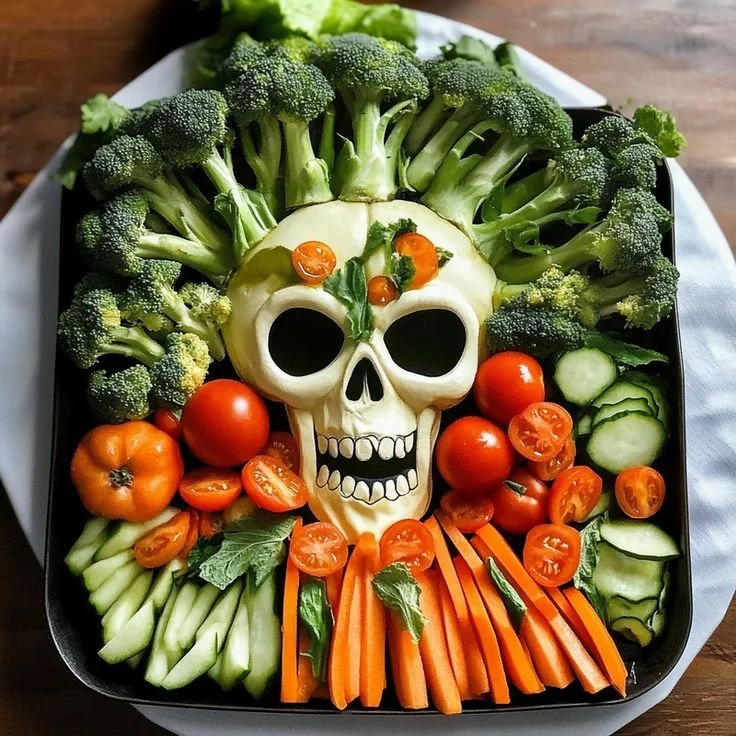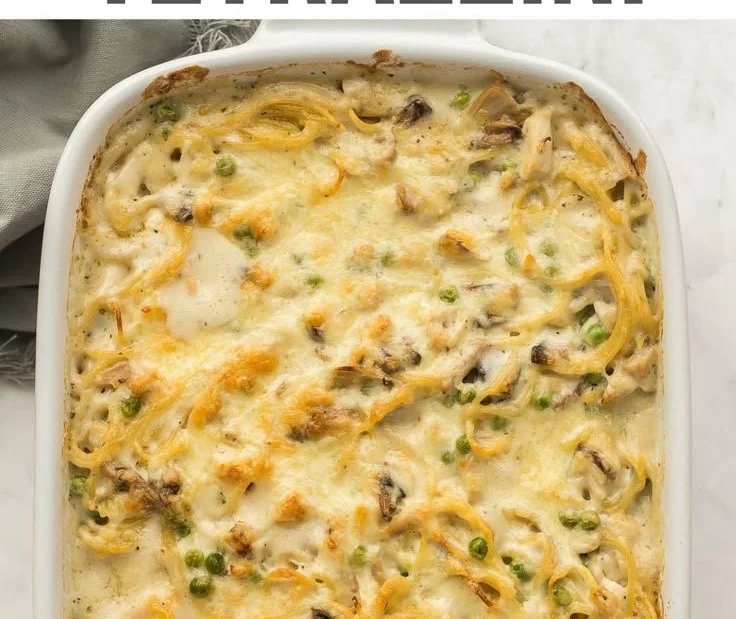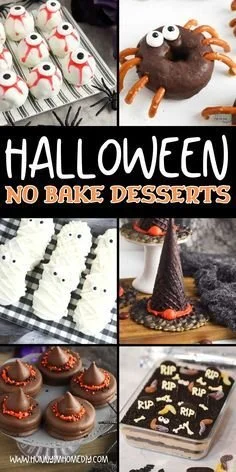
Making No Bake Halloween Dessert Bars is an effortless way to create a fun and festive treat for the spooky season. These delicious bars combine chocolate, peanut butter, and festive toppings, making them perfect for parties and celebrations. With minimal effort and no need for an oven, this recipe is sure to become a family favorite!
Why You’ll Love No Bake Halloween Dessert Bars
- Quick and Easy: These bars come together in no time, perfect for those busy days leading up to Halloween.
- No Baking Required: You can skip the oven altogether, making this recipe ideal for warm days or when you want to avoid heating up the kitchen.
- Fun for Kids: Get the little ones involved! They’ll love mixing ingredients and adding colorful toppings.
- Customizable: You can easily swap out ingredients to cater to your family’s preferences or dietary needs.
- Perfect for Parties: These dessert bars are visually appealing and fun to eat, making them a hit at any Halloween gathering.
Recipe Overview
- Prep Time: 15 minutes
- Cook Time: 0 minutes
- Total Time: 1 hour 15 minutes (includes chilling time)
- Servings: 12 bars
- Difficulty Level: Easy
Ingredients You’ll Need for No Bake Halloween Dessert Bars
- 1 cup chocolate chips (for sweetness and a rich chocolate flavor)
- 1 cup peanut butter (adds creaminess and enhances flavor)
- 2 cups graham cracker crumbs (for the base and texture)
- 1/2 cup powdered sugar (to sweeten the mixture)
- 1 packet of Halloween candy (like gummy worms or candy corn for festive decoration)
- 1/2 cup mini marshmallows (adds fun and chewy texture)
- Sprinkles (optional, for extra festive flair)
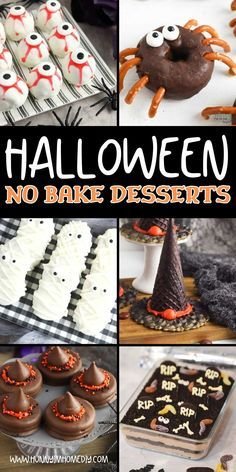
How to Make No Bake Halloween Dessert Bars
-
Melt the Chocolate
In a large bowl, melt the chocolate chips in the microwave in 30-second increments, stirring in between until smooth. Alternatively, you can melt them over a double boiler on the stovetop. -
Combine Peanut Butter
Stir in the peanut butter with the melted chocolate until the mixture is well combined and creamy. -
Mix the Dry Ingredients
Add the graham cracker crumbs and powdered sugar to the chocolate-peanut butter mixture, mixing until everything is well combined and there are no dry spots. -
Fold in Extras
Gently fold in the mini marshmallows and Halloween candy, ensuring they are evenly distributed throughout the mixture. -
Prepare the Baking Dish
Press the mixture into a greased baking dish (an 8×8 inch dish works well) and spread it evenly with a spatula. -
Chill the Bars
Refrigerate the dish for at least 1 hour, or until the mixture is firm to the touch. -
Cut and Serve
Once set, cut into bars and decorate with additional sprinkles if desired. Serve chilled and enjoy!
Tips for Success
- Use Quality Chocolate: Good quality chocolate chips will melt better and provide a richer flavor.
- Don’t Overheat the Chocolate: Be cautious when melting chocolate; overheating can cause it to become grainy.
- Press Firmly: Make sure to press the mixture firmly into the dish for a good hold when cutting.
- Chill Thoroughly: Allow enough time for chilling; the bars should be completely firm before cutting.
- Store Properly: Keep the dessert bars chilled until serving to maintain their texture and freshness.
Easy Variations
- Nut Butter Swap: Substitute almond or cashew butter for peanut butter if you’re looking for a nut-free option.
- Add Spices: A pinch of cinnamon or pumpkin spice can give these bars a seasonal twist.
- Dairy-Free Option: Use dairy-free chocolate and nut butter to make a vegan version.
- Add Dried Fruit: Consider folding in chopped dried fruit, like cranberries or apricots, for added chewiness.
- Switch up the Candy: Try different Halloween candies or even pastel-colored candy for spring-themed bars.
What to Serve with No Bake Halloween Dessert Bars
- Milk or Dairy Alternatives: These bars pair wonderfully with a glass of milk or your favorite plant-based alternative.
- Ice Cream: A scoop of vanilla or pumpkin ice cream makes for a delightful combination.
- Fruit Salad: Balance the sweetness with a refreshing fruit salad on the side.
- Hot Chocolate: Serve with a warm mug of hot chocolate for the perfect treat on a chilly night.
- Cheese Plate: A simple cheese plate can offer a savory contrast to the sweet bars.
Storage and Reheating
- Refrigerator Storage: Store any leftover bars in an airtight container in the refrigerator for up to one week.
- Freezer Storage: For longer storage, freeze the bars wrapped individually in plastic wrap. They’ll keep well for up to three months.
- Reheating: These bars are best served chilled; however, if you prefer a warm treat, you can pop them in the microwave for about 10 seconds.
- Texture Preservation: To maintain texture, be sure to keep the bars cool and covered tightly when storing.
Common Mistakes to Avoid
- Not Greasing the Dish: Forgetting to grease the baking dish can make it difficult to remove the bars, so always coat it evenly.
- Skipping the Chill: Cutting the bars before they are fully chilled will lead to messy servings.
- Over Mixing: Mixing the batter too much after adding the dry ingredients can lead to dense bars; mix just until incorporated.
- Not Using Enough Chocolate: Using less chocolate than called for may result in a less flavorful dessert; maintain the recommended ratios.
- Using Low-Quality Ingredients: Cheap chocolate or peanut butter can negatively affect the overall taste; choose good-quality products.
No Bake Halloween Dessert Bars: Background & Cultural Inspiration
These No Bake Halloween Dessert Bars draw inspiration from the traditional no-bake desserts that have become popular for their ease and convenience. No-bake treats have a long history, often shared at community gatherings, celebrations, and potlucks due to their quick preparation and delightful flavors. The addition of festive Halloween candy not only makes these bars visually appealing but also adds a playful element that is especially beloved by children. This recipe encapsulates the spirit of Halloween, where fun meets creativity in the kitchen.
Frequently Asked Questions
Can I make these bars in advance?
Yes! You can prepare them ahead of time and store them in the refrigerator for up to a week.
Can I substitute the graham cracker crumbs?
Yes, crushed cookies or even crushed oats can be used as a substitute for graham cracker crumbs.
How do I know when the bars are set?
The bars should feel firm to the touch and hold their shape when you cut into them. This typically takes at least an hour of chilling.
Are these bars gluten-free?
To make gluten-free bars, ensure that you use gluten-free graham crackers or alternative crumbs.
What can I do if my chocolate isn’t melting properly?
If your chocolate isn’t melting smoothly, heat it in smaller increments and stir more frequently. If using the microwave, do not exceed 30 seconds at a time.
Final Thoughts
No Bake Halloween Dessert Bars are an enjoyable and easy way to bring festive spirit to your celebrations. Their straightforward preparation allows you to focus on the fun, whether you’re crafting them alone or involving the kids. Plus, their delicious flavor and customizable nature make them a treat everyone can enjoy. Give this recipe a try, and make your next gathering a little sweeter!
PrintNo Bake Halloween Dessert Bars

A fun and festive no-bake dessert combining chocolate, peanut butter, and colorful toppings, perfect for Halloween gatherings.
- Prep Time: 15 minutes
- Cook Time: 0 minutes
- Total Time: 75 minutes
- Yield: 12 bars
- Category: Dessert
- Method: No Bake
- Cuisine: American
- Diet: Vegetarian
Ingredients
- 1 cup chocolate chips
- 1 cup peanut butter
- 2 cups graham cracker crumbs
- 1/2 cup powdered sugar
- 1 packet of Halloween candy (gummy worms or candy corn)
- 1/2 cup mini marshmallows
- Sprinkles (optional)
Instructions
- Melt the chocolate chips in a large bowl in the microwave or over a double boiler.
- Stir in the peanut butter with the melted chocolate until creamy.
- Add the graham cracker crumbs and powdered sugar, mixing until well combined.
- Fold in the mini marshmallows and Halloween candy until evenly distributed.
- Press the mixture into a greased 8×8 inch baking dish and spread it evenly.
- Refrigerate for at least 1 hour, or until firm.
- Cut into bars and decorate with sprinkles if desired. Serve chilled.
Notes
Use quality chocolate for the best flavor. Be careful not to overheat the chocolate.