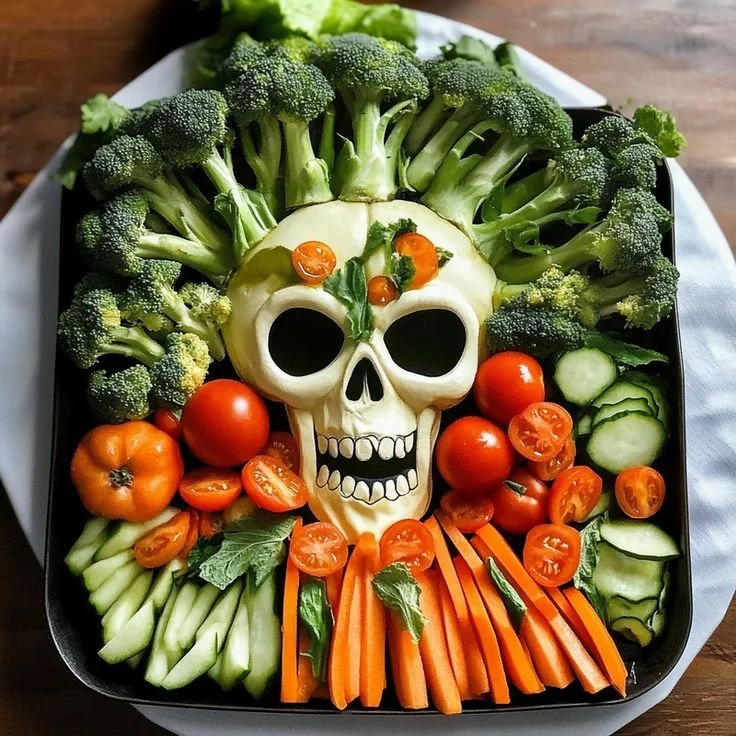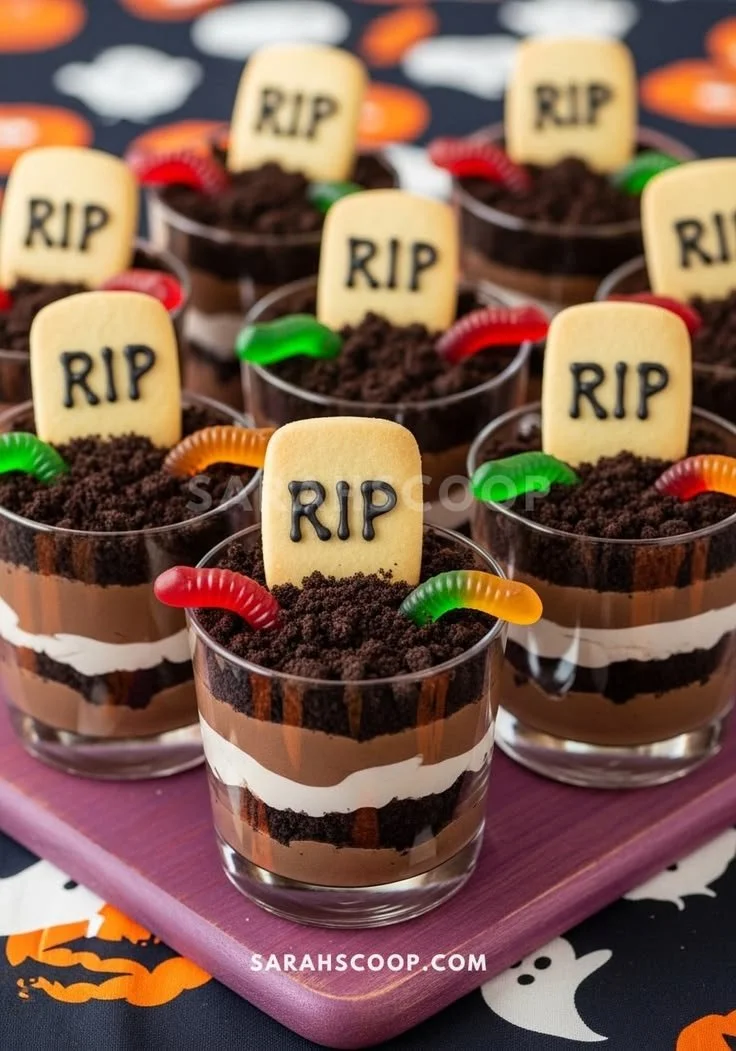
Making Chocolate Peanut Butter Halloween Treats is a delightful way to celebrate the festive season. These easy-to-make treats combine the classic flavors of chocolate and peanut butter, and are sure to bring a smile to both kids and adults. Whether you’re hosting a Halloween party or simply looking for a fun snack, this recipe is a sweet addition to your celebrations.
Why You’ll Love Chocolate Peanut Butter Halloween Treats
- Quick and Easy: This recipe takes minimal time and effort. Perfect for any level of cook, you can whip these up in under an hour.
- Kid-Friendly: Making these treats can be a fun activity with kids. They will love shaping the treats and adding festive sprinkles.
- Versatile: Whether you want to use these for a party, as a classroom treat, or for a spooky movie night, these treats fit right in.
- Indulgent Flavor: The combination of chocolate and peanut butter creates a deliciously rich treat that satisfies sweet cravings.
- No Baking Required: This no-bake recipe means you won’t heat up your kitchen, making it perfect for warmer weather or busy days.
Recipe Overview
- Prep Time: 15 minutes
- Cook Time: 10 minutes
- Total Time: 25 minutes
- Servings: 24 treats
- Difficulty Level: Easy
Ingredients You’ll Need for Chocolate Peanut Butter Halloween Treats
- 1 cup chocolate chips: Use semi-sweet or milk chocolate for a sweeter taste.
- 1 cup peanut butter: Creamy peanut butter works best for a smooth consistency.
- 3 cups rice cereal: This adds crunch and texture to the treats.
- 1 cup mini marshmallows: Choose fresh mini marshmallows for a soft, chewy texture.
- Halloween-themed sprinkles: These add a festive touch and can be customized as per your preference.
- Wax paper: Useful for lining the baking sheet to prevent sticking.
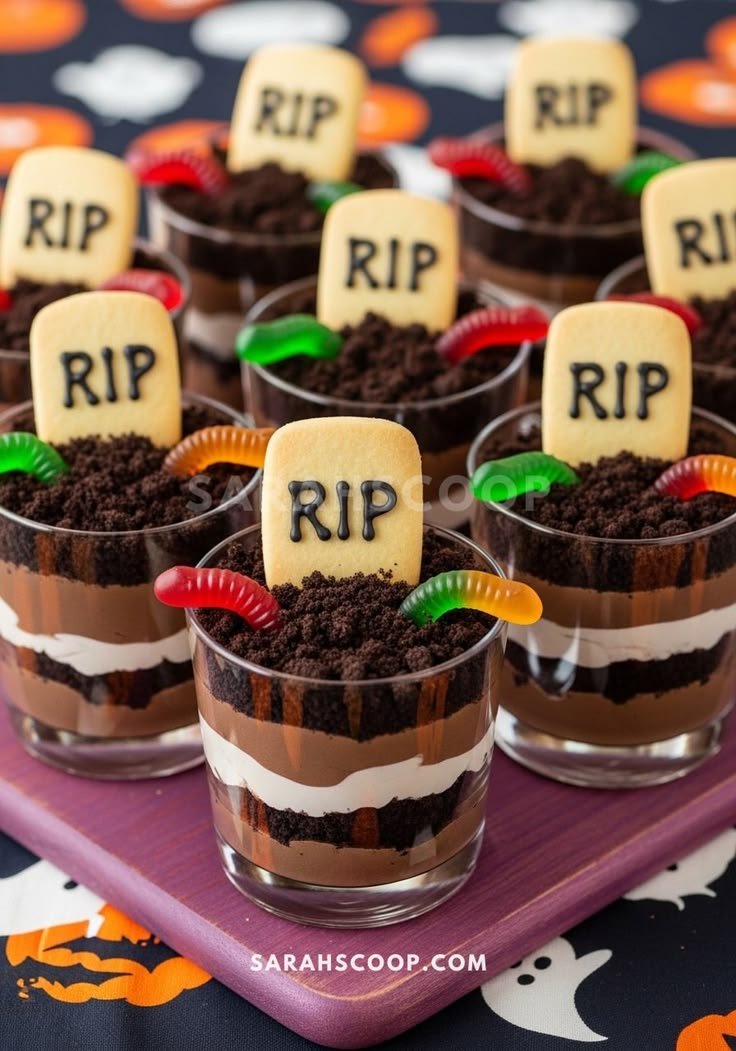
here
How to Make Chocolate Peanut Butter Halloween Treats
-
Melt the Mixture
In a large pot, melt the chocolate chips and peanut butter together over low heat, stirring until smooth. Be careful not to overheat, as this can cause the chocolate to seize. -
Combine Ingredients
Remove the pot from heat. Stir in the rice cereal and mini marshmallows until all ingredients are well combined, ensuring the cereal is evenly coated. -
Shape the Treats
On a wax paper-lined baking sheet, drop spoonfuls of the mixture. Shape them into fun Halloween shapes like ghosts or pumpkins for added fun. -
Add Sprinkles
Immediately sprinkle with Halloween-themed sprinkles before the treats can set. This is the best time to ensure they stick well. -
Let Set
Allow the treats to cool and set for about 30 minutes at room temperature before serving. This helps them hold their shape.
Tips for Success
- Use Low Heat: Keep the heat low while melting to avoid burning the chocolate and peanut butter.
- Don’t Rush the Cooling: Letting them cool at room temperature ensures the right texture; rushing can make them gooey.
- Mix Well: Make sure to mix thoroughly so all the cereal and marshmallows are coated. This prevents dry bites.
- Grease the Wax Paper: Lightly grease the wax paper to prevent sticking further.
- Customization: If you want a firmer texture, chill the treats in the refrigerator for a shorter period before serving.
Easy Variations
- Choco-Mallow Bars: Instead of shaping into treats, press the mixture into a lined baking dish for bars.
- Nut-Free Option: Use sunflower seed butter instead of peanut butter for a nut-free alternative.
- Add Dried Fruit: Toss in some dried cranberries or cherries for a chewy texture; they pair well with the chocolate.
- Flavor it Up: Mix in a teaspoon of vanilla extract for extra flavor or a pinch of sea salt for a sweet-salty combo.
- Chocolate Drizzle: Drizzle melted chocolate over the set treats for a decorative touch.
What to Serve with Chocolate Peanut Butter Halloween Treats
- Milk: A classic pairing with chocolate treats, milk balances the rich flavors perfectly.
- Hot Chocolate: Serve these with a warm cup of hot chocolate for a cozy dessert experience.
- Fruit Salad: A light fruit salad adds freshness, making it a well-rounded snack or dessert option.
- Halloween Punch: Pair these treats with a festive punch to make your celebration extra special.
- Popcorn: Offer a bowl of popcorn as a light snack alongside these rich treats; the contrast is delightful.
Storage and Reheating
- Refrigerator Storage: Store in an airtight container in the fridge for up to one week. You can keep them at room temperature for short periods, depending on your preference.
- Freezer Storage: For longer storage, freeze the treats in an airtight container for up to three months. Just separate layers with parchment paper.
- Reheating: If they harden too much, microwave for a few seconds to soften slightly before serving.
- Meal Prep Note: These treats are great for meal prep; pack them for lunches or as snack options.
Common Mistakes to Avoid
- Burning the Chocolate: Watch the pot carefully while melting. Chocolate burns easily; keep stirring.
- Overmixing: While you want everything combined, overmixing can lead to mushy treats. Mix just enough to combine.
- Not Allowing to Set: Skipping the cooling step can result in messy treats that don’t hold shape.
- Using Old Ingredients: Make sure your chocolate and marshmallows are fresh for the best flavor and texture.
- Inconsistent Sizes: Use a consistent scoop for even-sized treats to ensure they set similarly.
Chocolate Peanut Butter Halloween Treats: Background & Cultural Inspiration
Chocolate and peanut butter treats are a classic combination that resonates with many. This sweet pairing has a rich history in American desserts, frequently celebrated in various forms, particularly around holidays like Halloween. The addition of festive sprinkles adds a seasonal twist, encouraging creativity and fun in the kitchen. Making these treats during the Halloween season taps into a long-standing tradition of celebrating with candy and sweets, bringing together families and friends in enjoyment.
Frequently Asked Questions
Can I make these treats ahead of time?
Yes! These treats can be made up to a week in advance. Store them in an airtight container in the fridge.
What can I substitute for peanut butter?
You can use sunflower seed butter or soy nut butter for a nut-free alternative.
How should I store leftovers?
Keep in an airtight container in the refrigerator for up to a week.
What if I don’t have rice cereal?
You can substitute with different cereals like cornflakes or even chopped pretzels for a unique texture and flavor.
Can I freeze these treats?
Yes, these treats freeze well. Just separate layers with parchment paper to prevent sticking.
Final Thoughts
Chocolate Peanut Butter Halloween Treats are not only a delightful dessert but also an opportunity for creativity and fun in the kitchen. They are easy to make and the perfect way to add a festive touch to your celebrations. Try making them for your next Halloween gathering or as a fun family activity, and enjoy the smiles they bring!
PrintChocolate Peanut Butter Halloween Treats

Delicious no-bake treats combining chocolate and peanut butter, perfect for Halloween parties or fun family snacks.
- Prep Time: 15 minutes
- Cook Time: 10 minutes
- Total Time: 25 minutes
- Yield: 24 treats
- Category: Dessert
- Method: No-Bake
- Cuisine: American
- Diet: Vegetarian
Ingredients
- 1 cup chocolate chips
- 1 cup peanut butter
- 3 cups rice cereal
- 1 cup mini marshmallows
- Halloween-themed sprinkles
- Wax paper
Instructions
- Melt the chocolate chips and peanut butter together over low heat, stirring until smooth.
- Remove the pot from heat and stir in the rice cereal and mini marshmallows until well combined.
- Drop spoonfuls of the mixture onto a wax paper-lined baking sheet and shape them as desired.
- Add Halloween-themed sprinkles immediately before the treats set.
- Allow to cool and set for about 30 minutes at room temperature.
Notes
Grease wax paper lightly to prevent sticking. Mix thoroughly to ensure even coating.