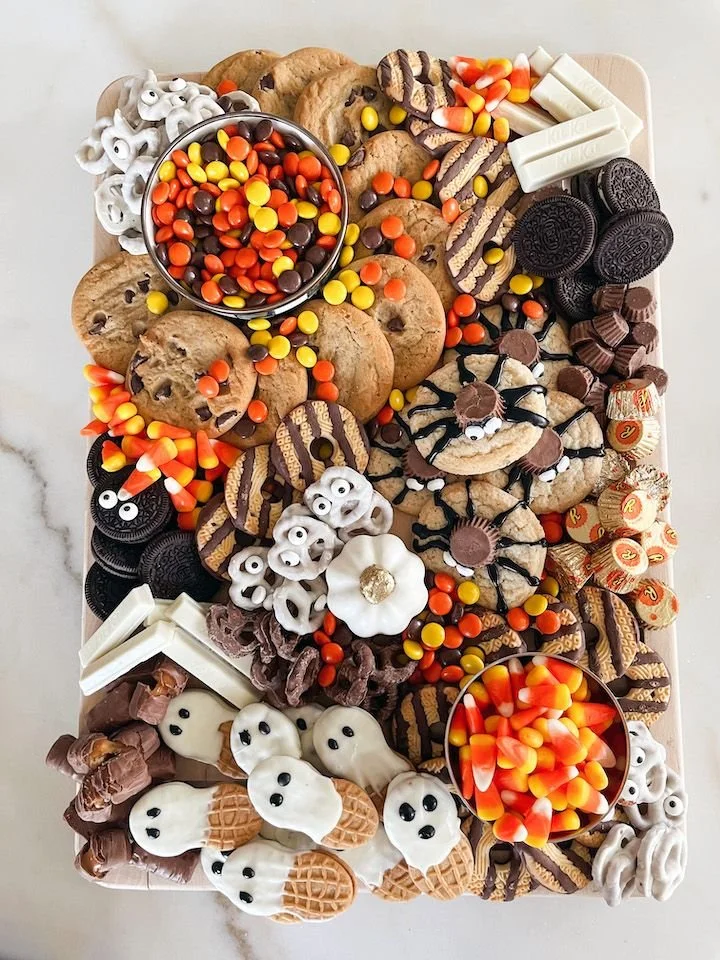
A Halloween Candy Board is a delightful and fun way to celebrate the spooky season! This festive and visually appealing treat offers a variety of flavors and textures, making it perfect for gatherings and parties. Not only is it easy to assemble, but it also encourages creativity and customization to suit your guests’ tastes.
Why You’ll Love Halloween Candy Board
- Endless Variety: You can mix and match your favorite candies, cookies, fruits, and nuts, creating a unique board every time.
- No Baking Required: This recipe requires minimal preparation and no baking, making it perfect for beginners or those with limited time.
- Visually Appealing: The vibrant colors and fun shapes of the candies and treats create an eye-catching centerpiece that adds excitement to your Halloween celebrations.
- Great for Sharing: A candy board encourages sharing and socializing, making it ideal for parties, gatherings, or casual get-togethers.
- Customizable for Any Diet: You can easily cater to various dietary needs by swapping ingredients or opting for sugar-free and gluten-free options.
Recipe Overview
- Prep Time: 15 minutes
- Cook Time: 0 minutes
- Total Time: 15 minutes
- Servings: 8-10
- Difficulty Level: Easy
Ingredients You’ll Need for Halloween Candy Board
- Cookies:
- Spider cookies
- Ghost cookies
- Assorted Candies:
- Chocolate candies
- Gummy candies
- Hard candies
- Fruits:
- Grapes
- Apple slices
- Nuts:
- Your choice of mixed nuts
- Pretzels:
- Mini pretzels
- Cheese Cubes:
- Any type of cheese cubes
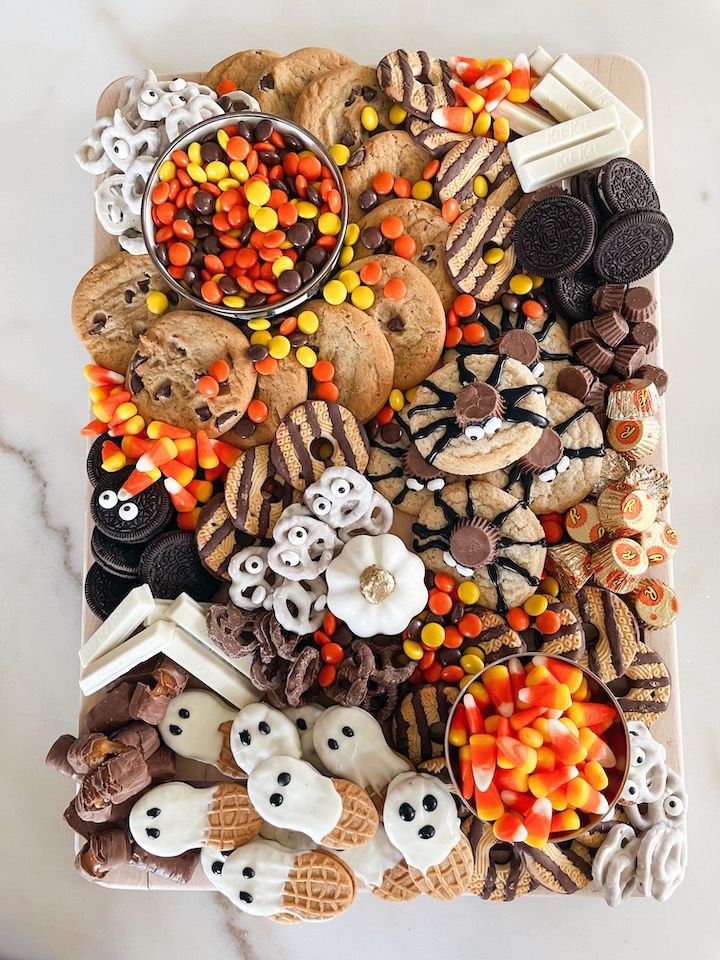
How to Make Halloween Candy Board
-
Choose Your Platter: Select a large cutting board or platter to display all your treats. A wooden board works well for a rustic feel, while a vibrant platter can make the colors of the candies pop.
-
Arrange the Cookies: Place the spider cookies and ghost cookies on the board first for a fun focal point.
-
Fill with Candies: Add the assorted candies around the cookies, spreading them evenly to create an inviting look.
-
Add Fruits, Nuts, and Pretzels: Incorporate a mix of fruits, nuts, and mini pretzels for an exciting texture contrast. Alternate sweet and savory for a balanced treat.
-
Garnish with Cheese: Scatter cheese cubes throughout the board to give guests a savory option alongside the sweet treats.
-
Serve and Enjoy: Present the Halloween candy board to your guests for a memorable, festive experience.
Tips for Success
- Choose Fresh Ingredients: Make sure your fruits are fresh and free from blemishes. This ensures they taste great and look appealing.
- Balance Flavors: Take care to balance sweet treats with savory items like cheese and nuts. This not only enhances the flavor experience but also provides a satisfying crunch.
- Add Seasonal Touches: Consider adding themed decorations, like small pumpkins or spider webs, to enhance the Halloween vibe.
- Prep Ahead: You can cut your fruits a few hours ahead of time. Just sprinkle a little lemon juice on apple slices to prevent browning.
- Play with Arrangements: Don’t be afraid to rearrange your candies and treats until you find a display that feels right to you; a haphazard look can work just as well.
Easy Variations
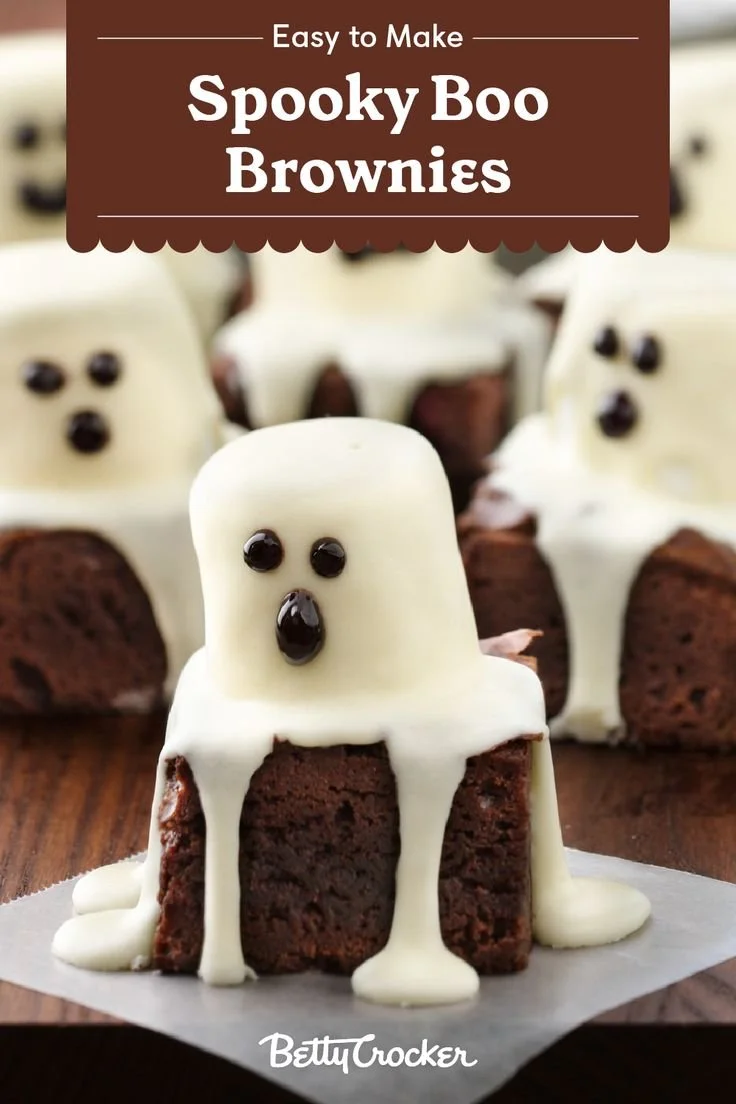
- Themed Treats: Use Halloween-themed candies like candy corn or chocolate covered marshmallows shaped like ghosts.
- Nut-Free Version: Replace nuts with extra pretzels or additional fruit to accommodate nut allergies.
- Swap Out Cookies: Use different cookies such as pumpkin spice or chocolate chip for variety.
- Add a Dip: Serve with a side of caramel or chocolate sauce for extra indulgence.
- Seasonal Fruits: Incorporate seasonal fruits like pomegranate seeds or slices of pear for a unique twist.
What to Serve with Halloween Candy Board
- Cheesy Dips: A warm cheese dip pairs excellently with pretzels and adds a comforting element.
- Pumpkin Soup: For a warm dish with a fall flavor, serve a small cup of pumpkin soup alongside the board.
- Apple Cider: A refreshing glass of apple cider complements the sweet treats wonderfully.
- Charcuterie: A small charcuterie board with meats can balance the sweetness of the candy.
- Mini Cupcakes: Theme mini cupcakes decorated with spiders or ghosts for a sweet addition.
Storage and Reheating
- Refrigerator Storage: If you have leftovers, store them in an airtight container in the refrigerator. Consume within 1-2 days for best quality.
- Freezer Storage: Avoid freezing the assembled board; however, any extra fruits or cheeses can be stored in the freezer appropriately.
- Best Reheating Method: There’s no need to reheat; everything is served cold, maintaining its delightful texture.
- Meal Prep Note: Consider prepping the cookies and fruit a day in advance for a quicker assembly on the day you’re serving.
Common Mistakes to Avoid
- Overcrowding the Board: Don’t pack items too tightly together; leaving space between can enhance the aesthetic and make grabbing treats easier.
- Using Wilty Fruits: Avoid using any fruits that might be past their prime, as they can make your board look unappealing.
- Skipping Texture Variety: Ensure you include a mix of textures—soft fruits, crunchy nuts, and chewy candies for an enjoyable snacking experience.
Halloween Candy Board: Background & Cultural Inspiration
Halloween is a time of year when creativity shines, especially in how we arrange our treats. Inspired by traditional charcuterie boards, the Halloween candy board transforms everyday sweets into a visually enticing experience. The concept of sharing food celebrates community and gathering, making it perfect for the spirit of Halloween. With roots in various cultural festivities that celebrate the harvest and the coming winter, this candy board embodies the joy of sharing seasonal delights.
Frequently Asked Questions
Can I make a Halloween candy board ahead of time?
Yes, you can prep individual components like cookies and fruits in advance, but it’s best to assemble the board just before serving for optimal freshness.
What are some good substitutes for candies?
You can swap chocolates with dried fruits, yogurt-covered nuts, or trail mix to cater to different tastes and dietary restrictions.
How should I store leftover candy?
Leftover treats should be stored in an airtight container at room temperature for a few days, while fruits should be refrigerated and eaten within 1-2 days.
Can I use dairy-free options for the cheese?
Absolutely! There are many great dairy-free cheese alternatives available that work well for this board.
What’s a good way to make this board more festive?
Add Halloween-themed decorations, such as mini pumpkins, decorative cloths, or themed plates, to enhance the ambiance.
Final Thoughts
Creating a Halloween Candy Board is a creative and enjoyable way to celebrate the holiday! This no-bake treat allows for endless customization, making it ideal for gatherings of all types. Whether you’re entertaining friends or family, this board will surely delight your guests and bring smiles all around. So gather your favorite candies and start making your festive masterpiece today!
PrintHalloween Candy Board
A festive and visually appealing candy board perfect for Halloween gatherings, featuring a variety of treats that encourage creativity.
- Prep Time: 15 minutes
- Cook Time: 0 minutes
- Total Time: 15 minutes
- Yield: 8-10 servings
- Category: Dessert
- Method: No Bake
- Cuisine: American
- Diet: Vegetarian
Ingredients
- Spider cookies
- Ghost cookies
- Chocolate candies
- Gummy candies
- Hard candies
- Grapes
- Apple slices
- Your choice of mixed nuts
- Mini pretzels
- Any type of cheese cubes
Instructions
- Choose Your Platter: Select a large cutting board or platter to display all your treats.
- Arrange the Cookies: Place the spider cookies and ghost cookies on the board first.
- Fill with Candies: Add the assorted candies around the cookies.
- Add Fruits, Nuts, and Pretzels: Incorporate a mix of fruits, nuts, and mini pretzels.
- Garnish with Cheese: Scatter cheese cubes throughout the board.
- Serve and Enjoy: Present the Halloween candy board to your guests.
Notes
Balance flavors between sweet and savory, and play with arrangements for visual appeal.