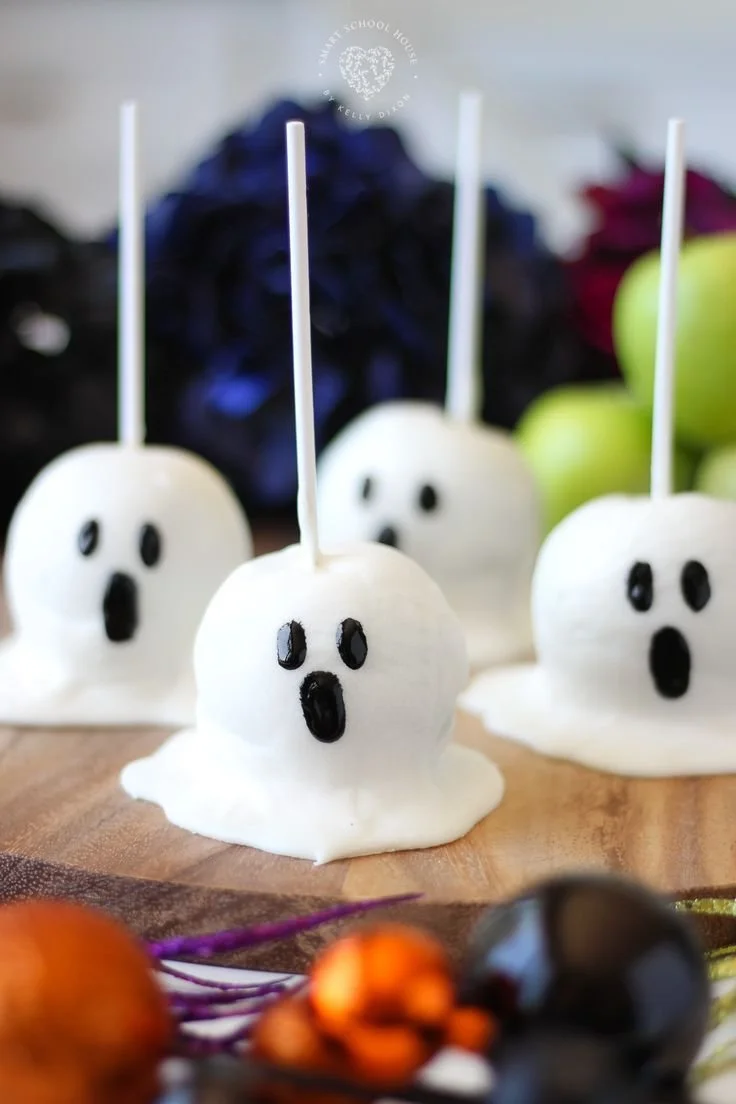
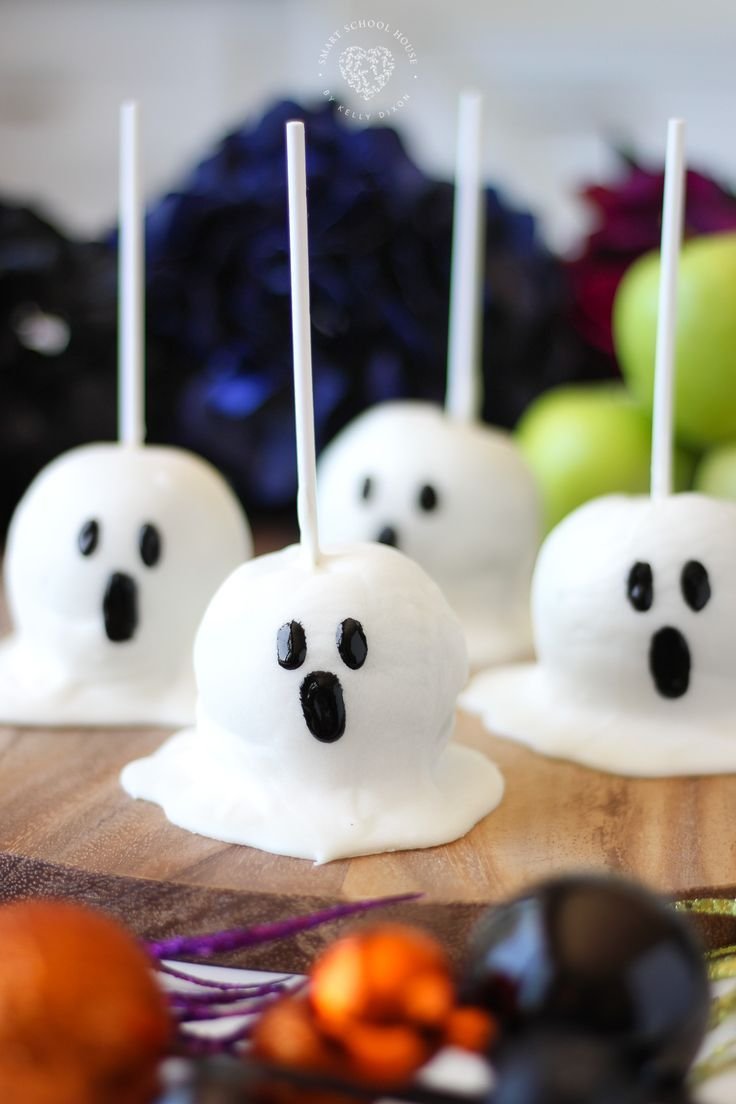
Apple Ghosts are a delightful and simple treat that will make your Halloween celebrations spookier and sweeter. These fun, chocolate-dipped apples are perfect for kids and adults alike, bringing both creativity and flavor to your holiday festivities. With just a few ingredients, you can create an eye-catching dessert that’s both fun to make and eat!
Why You’ll Love Apple Ghosts
- Easy to Make: This recipe requires minimal steps and just a few ingredients, making it perfect for beginners.
- Fun Presentation: The ghostly faces created with edible eyes make these treats perfect for Halloween parties or decorations.
- Customizable: Feel free to get creative by adding sprinkles, food coloring, or extra toppings to match your festive theme.
- Healthy Base: Apples provide a fresh and nutritious base, making these treats feel a bit less indulgent compared to other Halloween sweets.
- Quick to Prepare: You can make Apple Ghosts in under an hour, allowing you to whip them up for last-minute gatherings.
- Great for Kids: Kids will enjoy the hands-on aspect of dipping apples and decorating them, making this a fun family project.
Recipe Overview
- Prep Time: 15 minutes
- Cook Time: 10 minutes
- Total Time: 25 minutes
- Servings: 6
- Difficulty Level: Easy
Ingredients You’ll Need for Apple Ghosts
- 6 medium-sized apples (any variety you prefer will work well)
- 1 cup white chocolate or candy coating (available in baking aisles)
- Black edible eyes (found in craft or baking sections)
- 6 lollipop sticks or skewers (for easy handling)
here
How to Make Apple Ghosts
- Prepare the Apples: Begin by washing and drying the apples thoroughly. This ensures that the chocolate will adhere properly.
- Insert Sticks: Gently insert a lollipop stick or skewer into the top of each apple, pushing it in about halfway to keep it stable.
- Melt Chocolate: Melt the white chocolate or candy coating in a microwave-safe bowl or a double boiler. If using a microwave, heat in 30-second bursts, stirring in between until smooth.
- Dip the Apples: Dip each apple into the melted chocolate, covering it completely. Allow the excess chocolate to drip off before moving to the next step.
- Set on Parchment: Place the dipped apples on a baking sheet lined with parchment paper, ensuring they do not touch each other.
- Add Ghost Faces: Before the chocolate has set, stick two edible eyes onto each apple to create ghostly faces.
- Cool and Serve: Allow the apples to cool until the chocolate has fully set. Serve as a fun Halloween treat!
Tips for Success
- Use Fresh Apples: Choose firm, fresh apples for the best texture and flavor. A crisp apple balances perfectly with the sweet chocolate.
- Stay Dry: Make sure your apples are completely dry before dipping; moisture can cause the chocolate to seize up.
- Heat Gently: When melting your chocolate, avoid overheating, as it can clump. Stir gently to achieve a smooth consistency.
- Decorate Promptly: Work quickly once the chocolate is melted to ensure you can decorate the apples before the chocolate hardens.
- Experiment with Coatings: If you want a bit of crunch, consider rolling the dipped apples in crushed nuts or sprinkles before the chocolate sets.
Easy Variations
- Chocolate Bar Coating: Use milk or dark chocolate instead of white chocolate for a different flavor profile.
- Nut Butter Drizzle: Add a drizzle of peanut butter or almond butter over the chocolate for a delicious twist.
- Colored Chocolate: Use colored candy melts to create a range of ghostly colors for festive occasions.
- Sprinkle Fun: Roll the finished apples in edible glitter or festive sprinkles before the chocolate hardens.
- Mini Ghosts: Instead of whole apples, use apple slices with the same dipping and decorating method for bite-sized treats.
What to Serve with Apple Ghosts?
- Caramel Sauce: Provide a side of caramel sauce for dipping; the sweetness complements the apple perfectly.
- Dark Chocolate Fondue: Serve alongside a bowl of dark chocolate for a fun dipping option.
- Cheese Plate: Pair with sharp cheeses like cheddar for contrast, enhancing the sweet and savory flavor experience.
- Pumpkin Flavored Treats: Serve alongside pumpkin muffins or cookies to create a Halloween-themed dessert table.
Storage and Reheating
- Refrigerator Storage: Store leftover Apple Ghosts in an airtight container in the refrigerator for up to 3 days.
- Freezing: While freezing is not recommended due to texture loss, you can freeze melted chocolate if necessary.
- Reheating: If the chocolate needs smoothing out, use a microwave briefly, but be cautious not to overheat.
- Meal Prep Note: These can be made ahead of time for parties; just keep them refrigerated until serving.
Common Mistakes to Avoid
- Skipping Drying: Don’t skip drying the apples; it’s essential for chocolate adherence.
- Using Warm Chocolate: Ensure the chocolate is not too hot; warm chocolate works best for dipping.
- Waiting Too Long: Decorate the apples quickly before the chocolate sets; otherwise, the eyes won’t stick.
- Not Adding Enough Chocolate: Make sure to coat the apples thoroughly for a nice, smooth bite.
- Choosing the Wrong Apple Variety: Some apples are too soft or mealy; stick with firm varieties for the best results.
Apple Ghosts: Background & Cultural Inspiration
Apple Ghosts combine the fun of Halloween with the crisp, refreshing taste of apples. This treat plays on traditional caramel apples but adds a playful twist perfect for the spooky season. Historically, apple-themed treats have been associated with harvest celebrations, and incorporating them into Halloween adds to their charm. The playful design stems from the tradition of creating decorative foods during festivals, bringing people together in the kitchen.
Frequently Asked Questions
How do I prevent the chocolate from hardening too quickly?
If your chocolate is setting too quickly, try warming it gently to maintain a pourable consistency or work in smaller batches.
Can I make these ahead of time?
Yes, you can prepare the Apple Ghosts a day in advance and store them in the refrigerator until you’re ready to serve.
What kind of apples work best for this recipe?
Firm varieties like Granny Smith, Fuji, or Honeycrisp are excellent choices as they hold their shape and provide a nice balance of sweetness and tartness.
How do I store leftover chocolate-dipped apples?
Keep the apples in an airtight container in the refrigerator for up to three days. However, they are best when consumed fresh.
Can I use food coloring to tint my white chocolate?
Absolutely! Just add a few drops of oil-based food coloring to the melted chocolate to achieve your desired color without affecting the texture.
Final Thoughts
Apple Ghosts bring a fun and whimsical touch to your Halloween festivities. With their simple preparation and playful presentation, they are sure to delight both young and old. Don’t hesitate to involve family and friends in making these sweet treats, as they offer a great opportunity for creativity and fun in the kitchen. Give this recipe a try – your Halloween parties will be all the sweeter for it!
PrintApple Ghosts
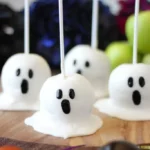
Apple Ghosts are delightful chocolate-dipped apples that bring a spooky twist to your Halloween celebrations. Easy to make and fun to eat!
- Prep Time: 15 minutes
- Cook Time: 10 minutes
- Total Time: 25 minutes
- Yield: 6 servings
- Category: Dessert
- Method: Dipping
- Cuisine: American
- Diet: Vegetarian
Ingredients
- 6 medium-sized apples (any variety)
- 1 cup white chocolate or candy coating
- Black edible eyes
- 6 lollipop sticks or skewers
Instructions
- Prepare the apples by washing and drying them thoroughly.
- Insert a lollipop stick or skewer into the top of each apple.
- Melt the white chocolate or candy coating in a microwave-safe bowl.
- Dip each apple into the melted chocolate, covering it completely.
- Set the dipped apples on a baking sheet lined with parchment paper.
- Add two edible eyes onto each apple before the chocolate sets.
- Cool the apples until the chocolate has fully set.
Notes
For added crunch, consider rolling the dipped apples in crushed nuts or sprinkles before the chocolate sets. Ensure apples are completely dry before dipping.