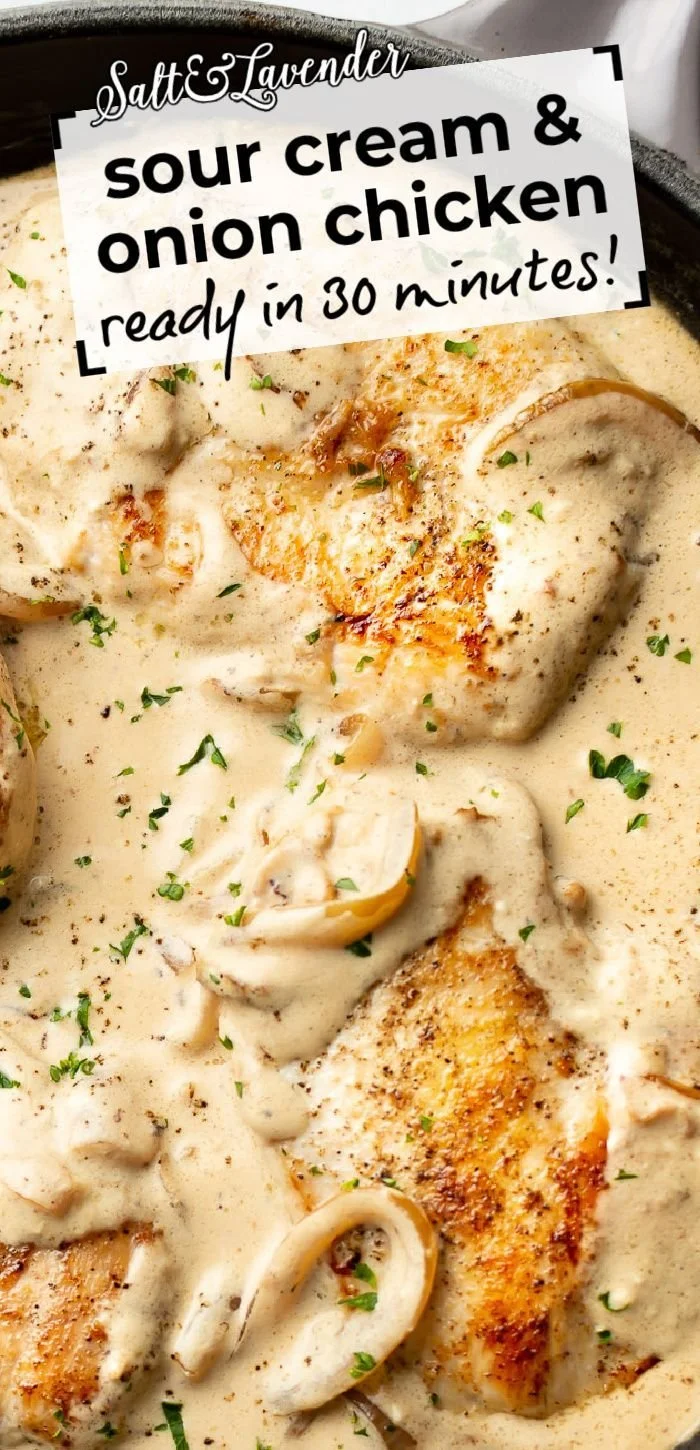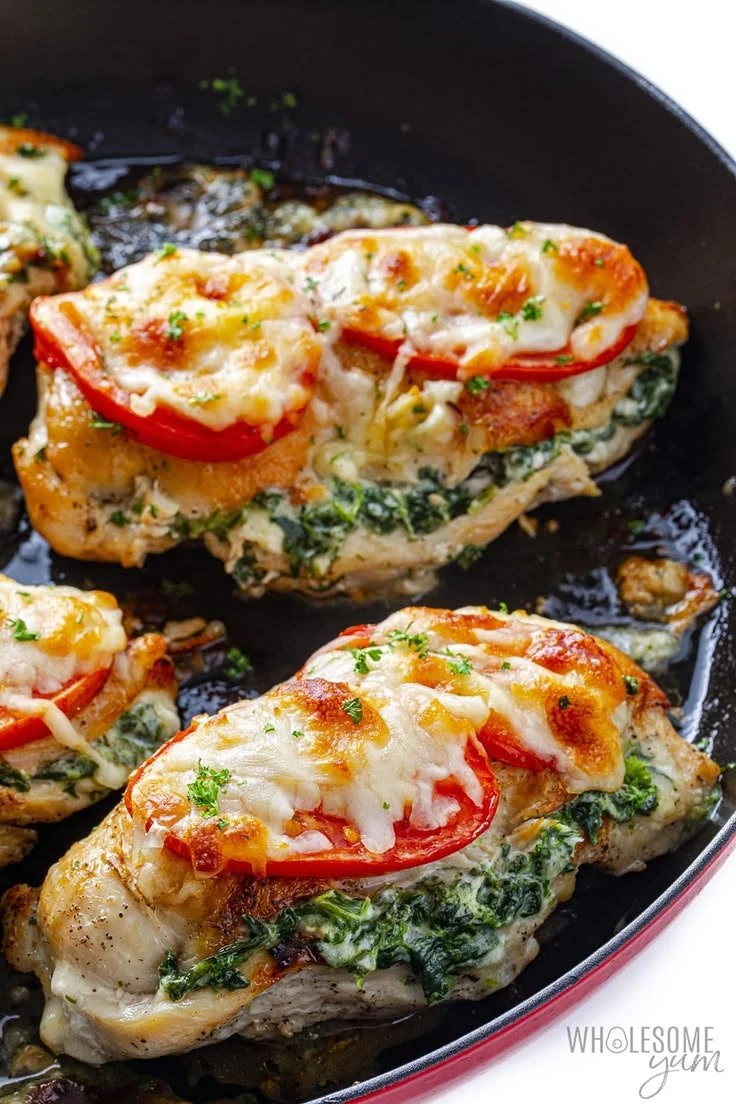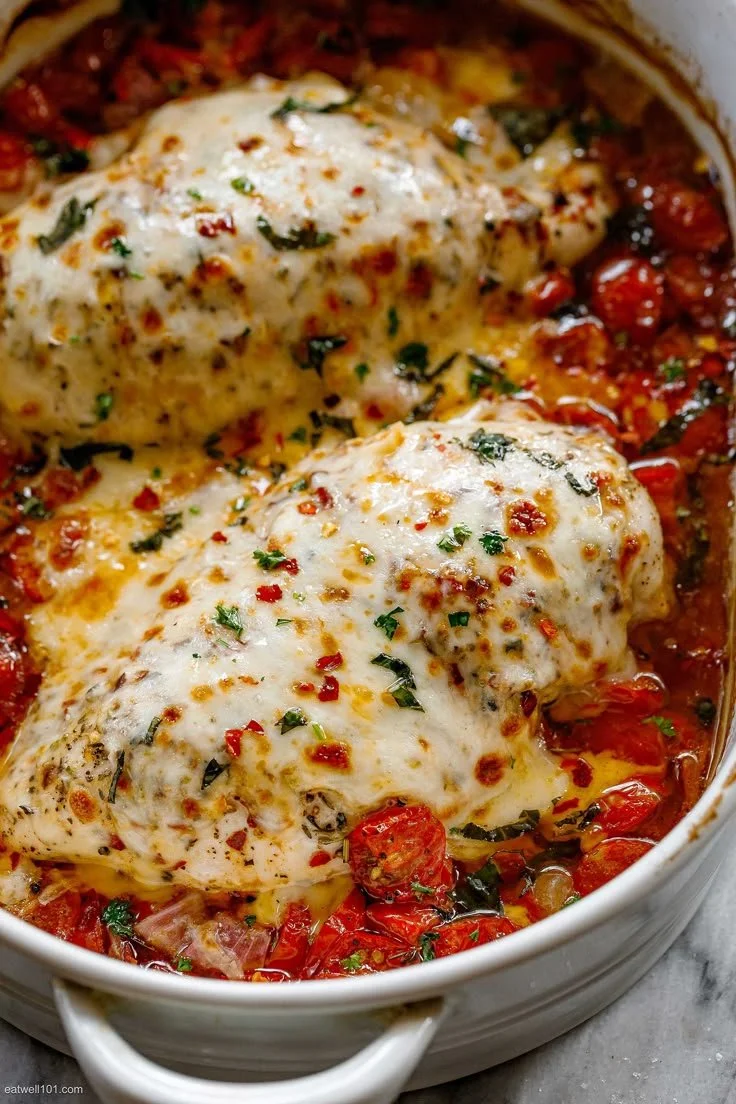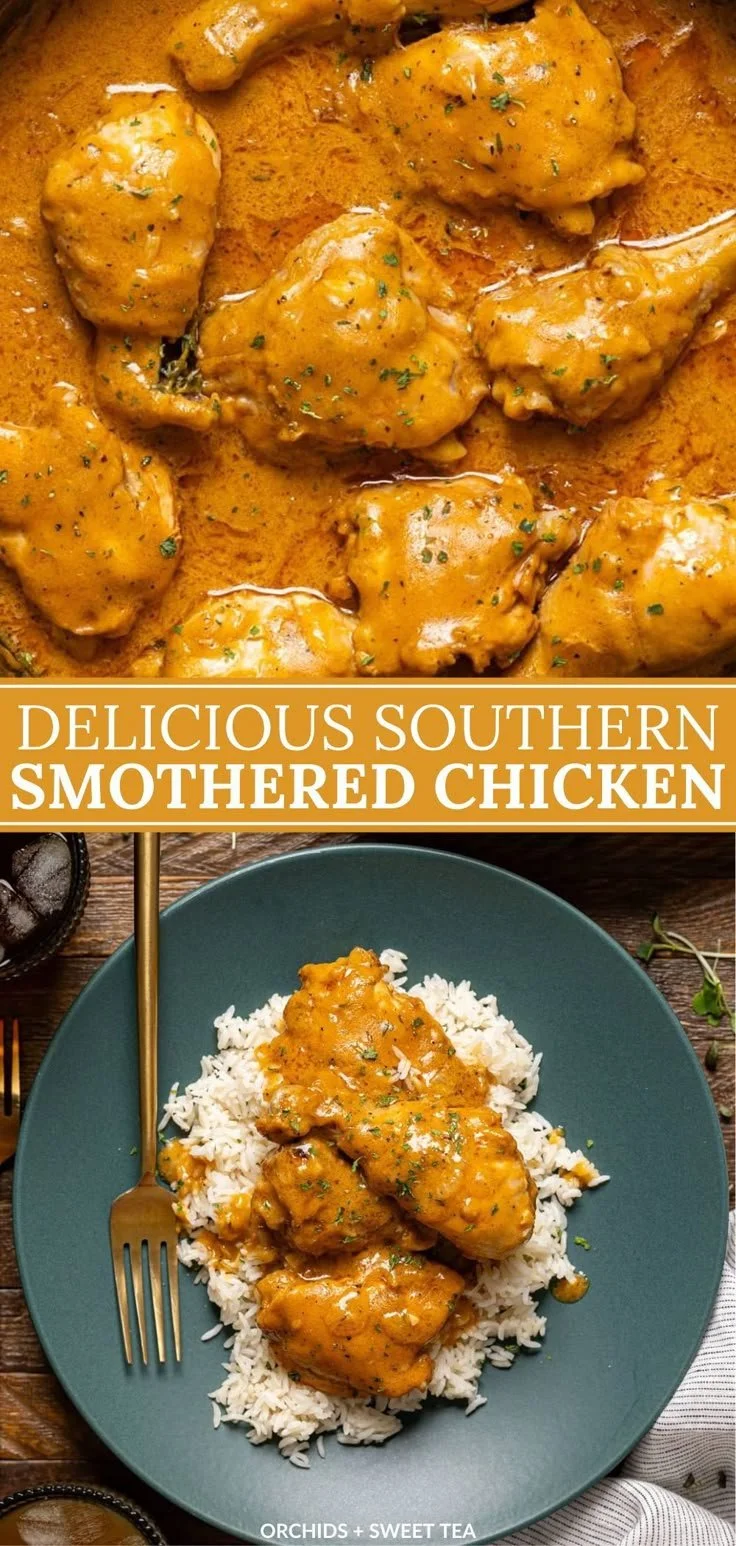
Cast Iron Chicken Breast is a delightful and easy dish that’s perfect for busy weeknights or a cozy weekend dinner. With its crispy skin and juicy interior, this recipe is sure to impress both family and guests alike. The use of a cast iron skillet not only enhances the flavors but also brings a beautiful golden color to the chicken, making it as visually appealing as it is delicious.
Why You’ll Love Cast Iron Chicken Breast
- Crispy Skin: Cooking in a cast iron skillet gives the chicken a perfectly crispy, golden-brown skin that locks in the juices.
- Simple Ingredients: This recipe requires just a few everyday ingredients that you likely already have on hand, making it both budget-friendly and accessible.
- Quick Prep and Cook Time: You can have this savory dish ready in about 30 minutes, making it a fantastic option for busy evenings.
- Flavorful Herbs: The addition of fresh herbs like oregano and sage elevates this dish, providing aromatic flavors that enhance the overall taste.
- Customizable: The basic cooking technique allows for easy flavor variations to suit your personal preferences or any cuisine style you desire.
Recipe Overview
- Prep Time: 10 minutes
- Cook Time: 20 minutes
- Total Time: 30 minutes
- Servings: 4
- Difficulty Level: Easy
Ingredients You’ll Need for Cast Iron Chicken Breast
- Chicken:
- 4 skin-on boneless skinless chicken breasts
- Cooking Fat:
- 2 tbsp vegetable oil
- 2 tbsp unsalted butter
- Seasoning:
- 1 tsp freshly ground black pepper
- 1 tsp kosher salt
- Fresh Herbs:
- 2 sprigs of fresh oregano
- 4 fresh sage leaves
- Liquid:
- 1/4 cup low sodium chicken stock
- 1 tbsp unsalted butter (to finish)

here
How to Make Cast Iron Chicken Breast
- Preheat Your Oven: Preheat your oven to 400°F (200°C).
- Prepare the Chicken: Place the chicken breasts skin-side down on a cutting board. Cover with plastic wrap and gently pound them with a mallet or rolling pin until they are about 3/4 inch thick.
- Season the Chicken: Flip the chicken breasts over and generously season the skin side with kosher salt and freshly ground black pepper.
- Heat the Skillet: When the oven is preheated, place a cast iron skillet inside for 10 minutes. Once heated, carefully remove it and place it on the stovetop over medium heat.
- Sear the Chicken: Add vegetable oil to the hot skillet, then quickly place the chicken breasts skin-side down. Cook for 6-8 minutes, or until the skin is crispy and browned.
- Flip and Finish: Turn the chicken over so it is skin-side up. Turn off the stove, add butter and fresh herbs to the pan, and place it in the oven for 10 minutes to finish cooking.
- Rest the Chicken: Once done, transfer the chicken to a plate and cover loosely with aluminum foil for about 5 minutes.
- Make the Sauce: While the chicken rests, return the cast iron pan to the stovetop over medium-low heat. Add chicken stock and an additional tablespoon of butter. Whisk together, scraping any bits from the pan until it simmers and reduces by half.
- Serve: Pour the pan juices into a container and serve the chicken breasts immediately, drizzling the juices over each piece.
Tips for Success
- Use Fresh Herbs for Flavor: Fresh herbs enhance the taste significantly. If you want to experiment, consider using rosemary or thyme as alternatives.
- Don’t Overcrowd the Pan: Make sure the chicken pieces are not touching in the skillet to promote even cooking and crispiness.
- Control the Heat: Keep an eye on the heat when searing the chicken; if it’s too high, you may burn the skin before the chicken cooks through.
- Resting is Important: Letting the chicken rest after cooking allows the juices to redistribute, ensuring each bite is moist and flavorful.
Easy Variations
- Spice it Up: Add a pinch of smoked paprika or cayenne pepper to the seasoning for an extra kick.
- Vegetable Add-Ins: Toss some sliced potatoes or seasonal vegetables into the skillet alongside the chicken to cook together.
- Citrus Twist: Squeeze some lemon juice over the chicken before serving for a refreshing contrast.
- Asian Flair: Swap the herbs for chopped green onions and ginger. Replace chicken stock with low-sodium soy sauce for an Asian-inspired dish.
What to Serve with Cast Iron Chicken Breast
- Mashed Potatoes: Creamy mashed potatoes pair wonderfully with the savory flavors of the chicken.
- Steamed Vegetables: Green beans or broccoli complement the dish well and add a pop of color.
- Rice Pilaf: A fragrant rice pilaf can absorb the pan juices, enhancing each bite with flavor.
- Side Salad: A fresh side salad helps balance the meal with lightness and crunch.
Storage and Reheating
- Refrigerator Storage: Store any leftovers in an airtight container in the refrigerator for up to 3 days.
- Freezer Storage: While freezing isn’t ideal for this recipe due to texture changes, you can freeze any leftover cooked chicken in a freezer-safe container for up to 2 months.
- Reheating Method: Reheat chicken in the oven at 350°F (175°C) for about 10-15 minutes to maintain crispness. Alternatively, use a microwave on low settings, keeping the skin side up to minimize moisture loss.
- Meal Prep Note: Consider cooking extra chicken to use in salads, wraps, or rice bowls throughout the week.
Common Mistakes to Avoid
- Not Preheating the Skillet: Ensure the skillet is hot enough to achieve that signature crispy skin. Preheating for approximately 10 minutes is key.
- Cooking Too Fast: Avoid increasing the heat to speed up cooking; this can result in burnt skin with raw chicken beneath.
- Skipping the Rest: Skipping the resting step can lead to dry chicken, as the juices need time to settle and redistribute.
- Using Dull Knives: Ensure knives are sharp for easy cutting, reducing the chance of applying too much pressure while slicing.
Cast Iron Chicken Breast: Background & Cultural Inspiration
This dish draws influence from classic American cuisine, where the cast iron skillet has been a staple in homes for generations. The method of pan-searing followed by oven roasting marries traditional techniques with modern convenience. The integration of fresh herbs reflects the importance of flavor and freshness in everyday cooking, making it a beloved recipe that resonates with home cooks looking to prepare deliciously simple meals.
Frequently Asked Questions
Can I use boneless chicken thighs instead of breasts?
Yes! Boneless chicken thighs work well and will add a deeper flavor to the dish, though cooking times may vary slightly.
Can I make this recipe ahead of time?
While best enjoyed freshly cooked, you can prepare the chicken in advance and reheat it when ready to serve.
What can I use instead of fresh herbs?
Dried herbs can be used as a substitute, with about 1/3 of the amount, although fresh herbs will give a more fragrant result.
How can I ensure my chicken is fully cooked?
To be certain the chicken is cooked through, use an instant-read thermometer; the internal temperature should reach 165°F (74°C).
What if I don’t have a cast iron skillet?
A heavy oven-safe skillet can work as a substitute. If neither is available, sear the chicken in any large pan and transfer to a baking dish to finish cooking.
Final Thoughts
Cast Iron Chicken Breast is a perfect blend of simplicity and flavor, making it an ideal dish for both novices and seasoned cooks. With its crispy skin and juicy, flavorful meat, it’s a recipe that promises satisfaction at every meal. Give it a try, and you’ll see just how rewarding home cooking can be!